8i | 9i | 10g | 11g | 12c | 13c | 18c | 19c | 21c | 23ai | Misc | PL/SQL | SQL | RAC | WebLogic | Linux
OEM Grid Control 11gR1 Installation on Oracle Linux 5.5 (64-bit)
Grid Control (GC) is a tool for monitoring the whole of your infrastructure. In previous releases, all software necessary for the installation was packaged into a single installation. With 11g Grid Control this has now changed, so you must manually install the repository database and the middleware layer before installing the grid control software itself. This entire installation should be done on hardware dedicated to Grid Control. You should not use existing parts of your infrastructure as this would make GC dependent on targets it is trying to monitor. Once the GC installation is complete, you can then deploy agents on any server you wish GC to monitor.
In this article I'll describe the installation of Oracle 11g Release 1 Grid Control on Oracle Linux (OL 5.5 64-bit). The article is based on a server installation with a minimum of 6G RAM, 8G swap, firewall and secure Linux disabled.
- Software
- OS Installation
- Java Installation
- Database Installation
- Middleware Installation
- Grid Control Installation
- Startup/Shutdown
- Reset SYSMAN Password
Software
Downloads the following software:
- Oracle Linux Release 5 Update 5 for x86_64 (64 Bit) - DVD (3.3G)
- Java SE Development Kit 6u18 (76M)
- Oracle Database 11g Release 2 for Linux 64-bit (2G)
- opatch - Latest version (26M)
- Oracle WebLogic Server 11gR1 (10.3.2) - Package Installer (Generic) (1G) *
- Enterprise Manager Grid Control (4.1G)
It's over 10G of software including the operating system.
* Don't be tempted to use a newer version of WebLogic Server (like 10.3.3 or 10.3.4). The installation will fail, as described in MOS Note 1135493.1.
OS Installation
Install Oracle Linux (OL) 5.5 in the same way you would for a regular Oracle Database installation. You can see an example of this type of installation here.
During this installation I used a virtual machine with 6G RAM and 100G disk space. The swap size was set at 8G and the firewall and SELinux were disabled.
Java Installation
Install Java JDK 6u18 using the following commands as the "root" user. Later version of the JDK cause errors when patching WebLogic (unless you are using a proxy), so the version of the JDK is very important.
# chmod u+x jdk-6u18-linux-x64-rpm.bin
# ./jdk-6u18-linux-x64-rpm.bin
Database Installation
Unlike previous Grid Control installations, the database is no longer bundled, so we must install the database software separately. To accomplish this I followed the Oracle Database 11g Release 2 installation instructions here.
In addition to the packages listed in the DB installation, the following packages must be installed as the "root" user for WebLogic and the Grid Control to install correctly.
# From Enterprise Linux 5 DVD
cd /media/cdrom/Server
rpm -Uvh compat-db-4*
rpm -Uvh compat-libstdc++-296*
rpm -Uvh rng-utils-2*
rpm -Uvh setarch-2*
cd /
eject
If you have performed a default installation you will need to deconfigure Enterprise Manager Database Control. Run the following command as the "oracle" user.
$ emca -deconfig dbcontrol db -repos drop -SYS_PWD <sys pasword> -SYSMAN_PWD <sysman password>
Make the following initialization parameter changes.
sqlplus / AS SYSDBA

ALTER SYSTEM SET log_buffer=10485760 SCOPE=SPFILE;
ALTER SYSTEM SET processes=500 SCOPE=SPFILE;
ALTER SYSTEM SET session_cached_cursors=200 SCOPE=SPFILE;
If you have done a default installation as described here, the UNDO tablespace will be autoextensible. If you have done a custom installation make sure the UNDO tablespace is at least 200M in size.
Next we must install the latest version of the "opatch" utility.
$ cd /host/software/oracle/GridControl/db_patches
$ unzip -d $ORACLE_HOME p6880880_112000_Linux-x86-64.zip
If you have used 11.2.0.2 for your database the following patches are unnecessary.
The documentation states that patches for database bugs 9002336 and 9067282 must be applied. Patch 9002336 has a prerequisite of patch 9352237 (a PSU), which includes patch 9067282, so I have only applied patches 9352237 and 9002336, which can be downloaded from My Oracle Support. The database patches include installation instructions, but to summarize, these commands should be run as the "oracle" user.
$ dbshut $ORACLE_HOME
$ export PATH=$PATH:$ORACLE_HOME/OPatch
$ cd /host/software/oracle/GridControl/db_patches

$ unzip p9352237_112010_Linux-x86-64.zip
$ cd 9352237
$ opatch apply
$ cd ..

$ unzip p9002336_112011_Linux-x86-64.zip
$ cd 9002336
$ opatch apply
$ cd ..

$ dbstart $ORACLE_HOME
The database installation is now complete.
Middleware Installation
Grid Control 11g Release 1 no longer bundles the middleware components, so we must install the WebLogic Server before we can proceed with the Grid Control installation. The installation is started with the following command, run as the "oracle" user.
$ cd /host/software/oracle/WebLogic
$ java -jar wls1032_generic.jar
Click the "Next" button on the welcome screen.
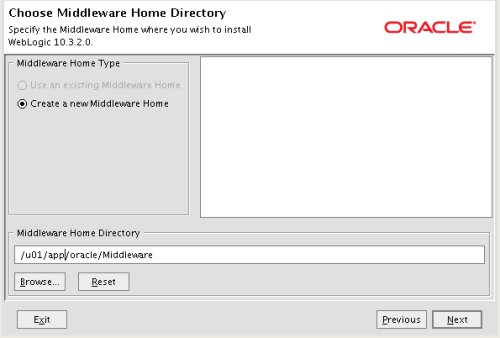
Enter "/u01/app/oracle/Middleware" as the "Middleware Home Directory" and click the "Next" button.
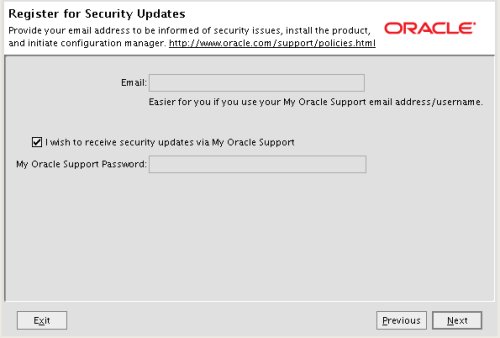
Enter your Oracle Support details, or uncheck the checkbox and click the "Next" button.
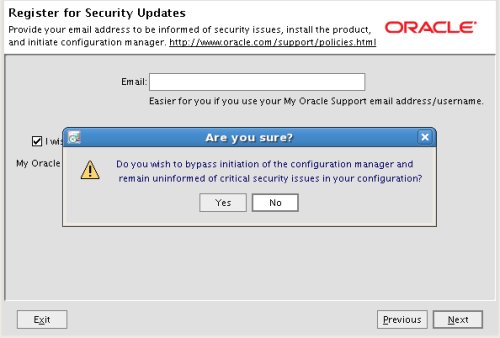
If a warning dialog appears, click the "Yes" button, followed by the "Next" button from the previous screen.
Accept the "Typical" installation by clicking the "Next" button.

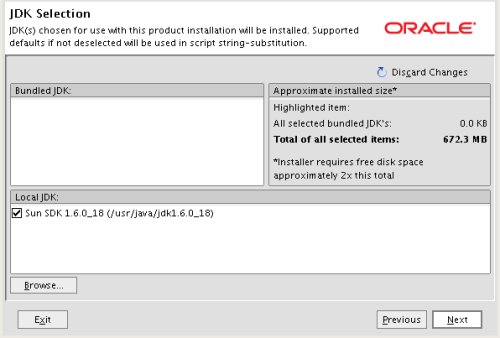
Accept the default JDK by clicking the "Next" button.
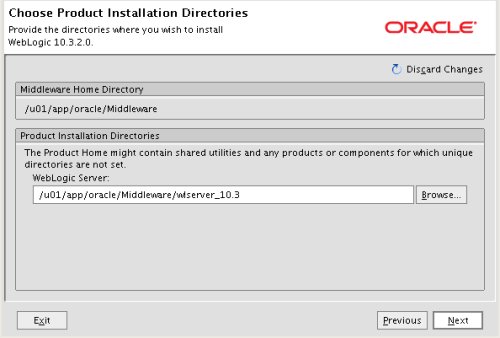
Accept the default "Product Installation Directories" by clicking the "Next" button.
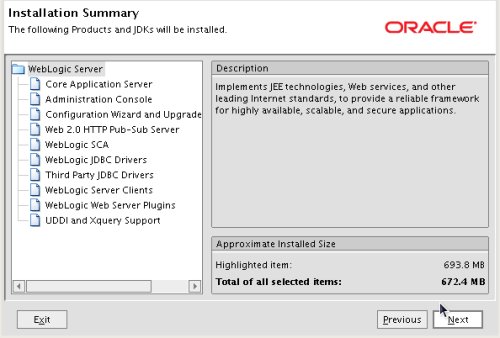
Click the "Next" button on the summary "Installation Summary" screen.
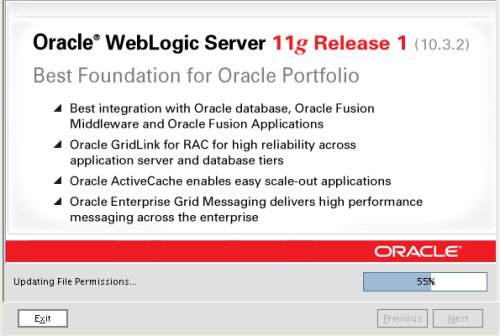
Wait while the installation takes place.
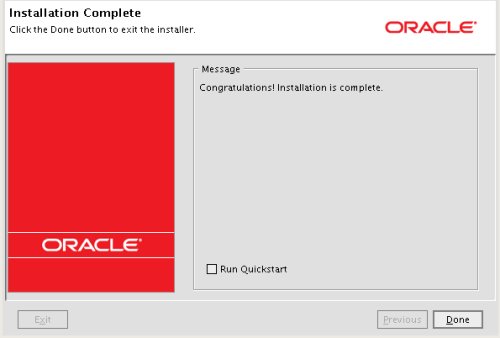
Uncheck the "Run Quickstart" checkbox and click the "Done" button.
Next we must apply the "WDJ7" patch to the installation by running the Smart Update utility.
Notes:
- The installation will complete without this patch, so if you have any trouble you can ignore it.
- Newer versions of the Smart Update utility no longer allow you to download patches using the utility itself. For the revised patch download instructions see MOS Notes 876004.1 and 1302053.1.
$ cd /u01/app/oracle/Middleware/utils/bsu
$ sh bsu.sh
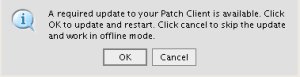
Update the patch client by clicking the "OK" button on the message dialog.
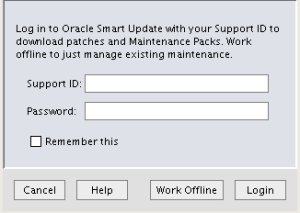
Enter your support credentials, then click the "Login" button.
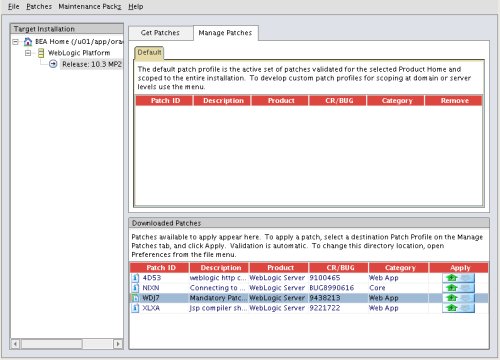
If you have chosen not to be updated with security information you may have to cycle through the warning message several times, but it will eventually continue. On Smart Update screen, click the "Get Patches" tab, select the "WDJ7" patch and click the "Download Selected" button and the "OK" button on the subsequent dialog.
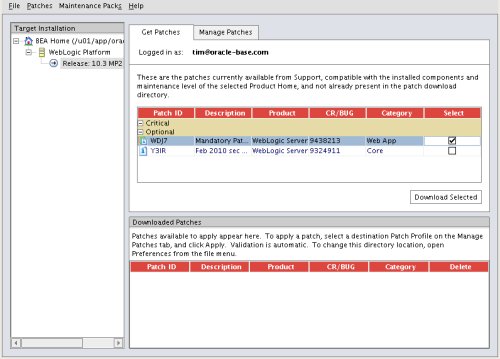
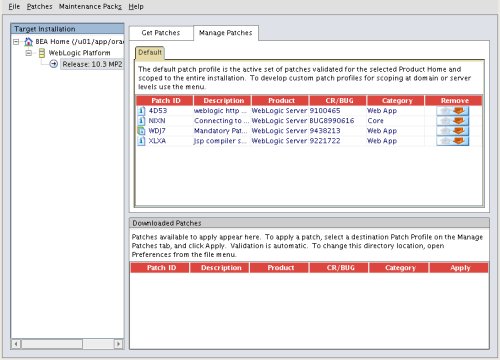
Click on the "Manage Patches" tab and click on the "Apply" button next to the "WDJ7" patch. Click "OK" on the subsequent validation dialog.
The patches are now listed under the "Default" tab.
Exit the Smart Update dialog, and the subsequent available maintenance screen if it appears.

Grid Control Installation
Unzip the Grid control software into an empty directory.
$ /host/software/oracle/GridControl/11.1.0.1.0
$ unzip GridControl_11.1.0.1.0_Linux_x86-64_1of3.zip
$ unzip GridControl_11.1.0.1.0_Linux_x86-64_2of3.zip
$ unzip GridControl_11.1.0.1.0_Linux_x86-64_3of3.zip
Start the installer as the "oracle" user.
$ ./runInstaller
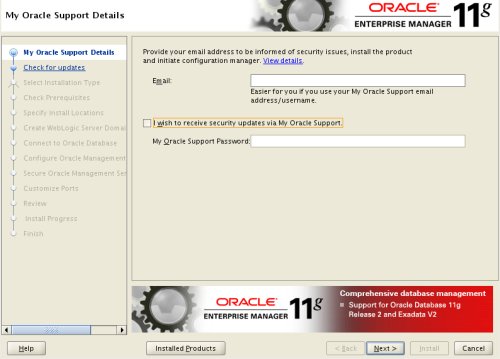
Enter your support details, or uncheck the notification checkbox, then click the "Next" button. Click the "Yes" button on any subsequent warning dialogs.
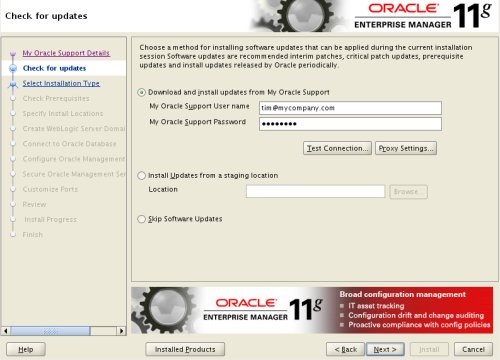
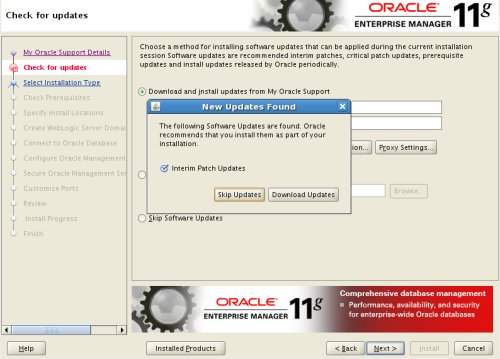
Select the "Download and install updates from My Oracle Support" option and enter your support details, then click the "Next" button.
Wait while the check is performed, then click the "Download Updates" button on the subsequent dialog and wait for the updates to be downloaded.
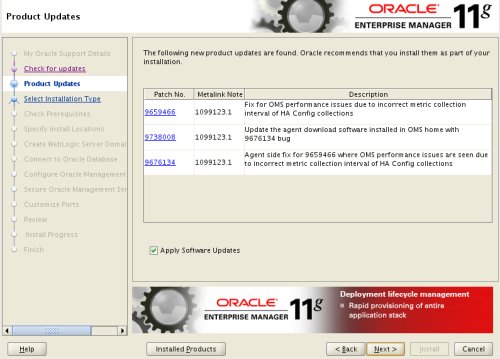
Accept the default "Apply Software Updates" option by clicking the "Next" button.
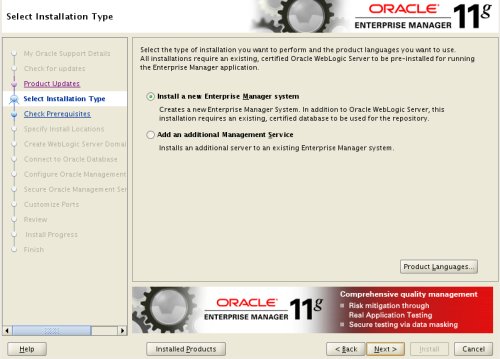
Accept the default "Install a new Enterprise Manager system" option by clicking the "Next" button.
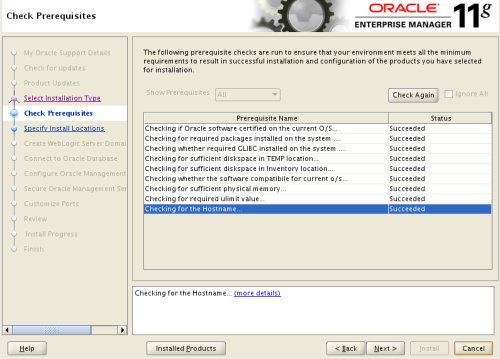
Wait while the prerequisite checks are performed. If any fail, correct them before proceeding by clicking the "Next" button.
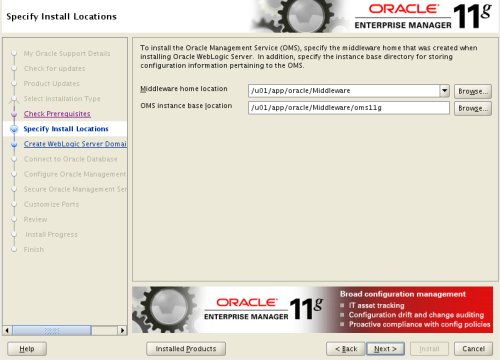
Enter "/u01/app/oracle/Middleware/oms11g" as the OMS instance base location, then click the "Next" button.
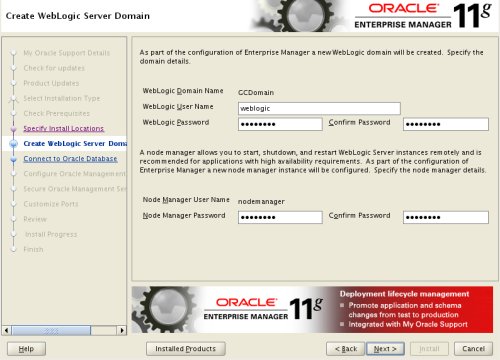
Enter password for the WebLogic domain and node manager users, then click the "Next" button.
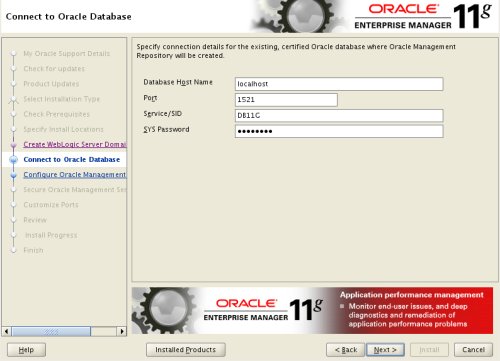
Enter the database connection details and click the "Next" button.
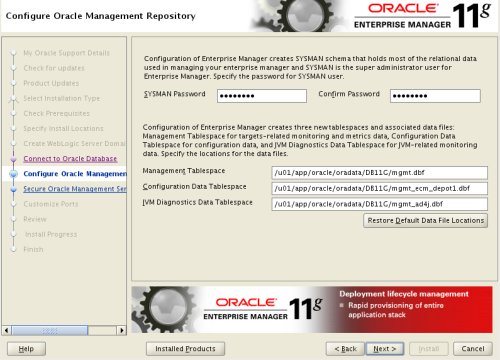
Enter password details for the "SYSMAN" database user and click the "Next" button.
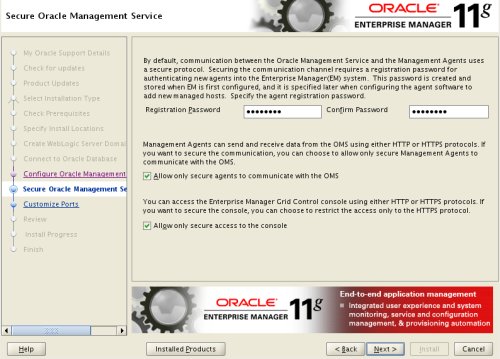
Enter the password for secure agent connections, then click the "Next" button.
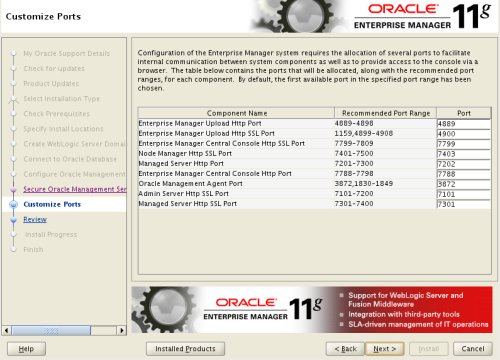
Amend the ports as you see fit, then click the "Next" button.
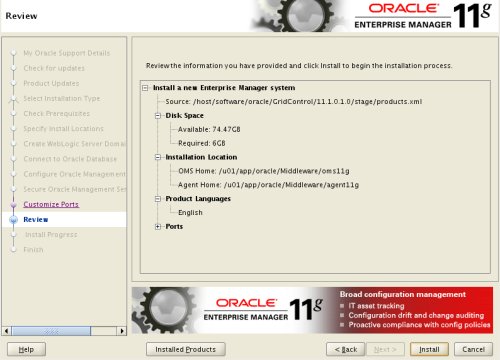
If you are happy with the information on the "Review" screen, click the "Next" button.
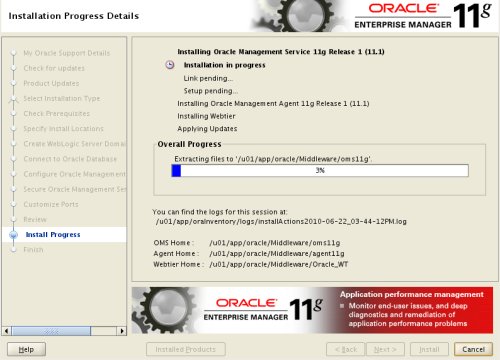
Wait while the installation takes place.
Run the specified script, then click the "OK" button.

Wait while the configuration steps take place.
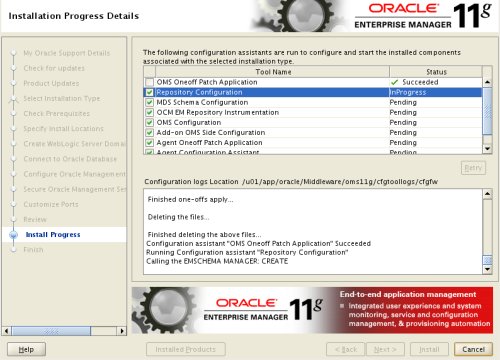
The "OMS Configuration" step may fail because another process is listening on its port (7401 by default), giving the following error in the log file.
SEVERE: Exception: java.net.BindException: Address already in use: JVM_Bind
If this happens, find the process listening on port and kill it, using the following commands.
# lsof -w -n -i tcp:7401
COMMAND  PID   USER   FD   TYPE DEVICE SIZE NODE NAME
java    1023 oracle  433r  IPv4 187396       TCP 192.168.0.143:silhouette (LISTEN)
# kill 1023
#
Once this is done, press the "Retry" button on the installer screen the the configuration should proceed.
Make a note of the URLs on the "Finish" screen, then click the "Close" button.
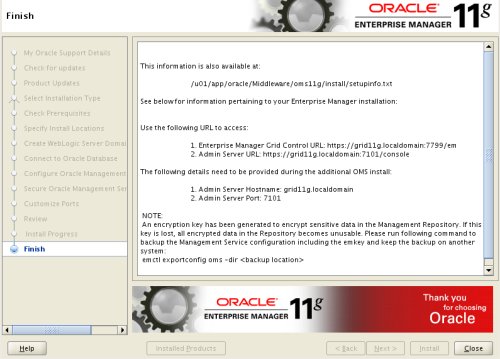
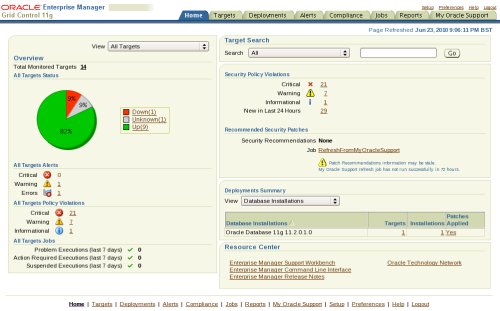
Connect to the Grid Control console (https://grid11g.localdomain:7799/em) using the username (SYSMAN) and password defined during the installation, accept the license agreement and you are presented with the console.
Startup/Shutdown
Use the following commands to turn on all components installed by this article.
#!/bin/bash
export OMS_HOME=/u01/app/oracle/Middleware/oms11g
export AGENT_HOME=/u01/app/oracle/Middleware/agent11g

# Start everything
dbstart $ORACLE_HOME

$OMS_HOME/bin/emctl start oms

$AGENT_HOME/bin/emctl start agent
Use the following commands to turn off all components installed by this article.
#!/bin/bash
export OMS_HOME=/u01/app/oracle/Middleware/oms11g
export AGENT_HOME=/u01/app/oracle/Middleware/agent11g

# Stop everything
$OMS_HOME/bin/emctl stop oms -all

$AGENT_HOME/bin/emctl stop agent

dbshut $ORACLE_HOME
Reset SYSMAN Password
If you need to reset the SYSMAN password, you must use the following steps.
$ cd $OMS_HOME/bin
$ ./emctl config oms -change_repos_pwd -change_in_db
$ ./emctl stop oms -all
$ ./emctl start oms
For more information see:
Hope this helps. Regards Tim...