This article is intended as a brief guide to installing Oracle9i (9.2.0.4.0) on RedHat Advanced Server 2.1 Linux. For additional information and platform variations read the Installation Guide for UNIX Systems.
Download Sun's Java Development Kit (JDK 1.3.1).
Download the Oracle installation files from Oracle Technology Network.
First unzip the files.
gunzip ship_9204_linux_disk1.cpio.gz
gunzip ship_9204_linux_disk2.cpio.gz
gunzip ship_9204_linux_disk3.cpio.gz
Next unpack the contents of the files.
cpio -idmv < ship_9204_linux_disk1.cpio
cpio -idmv < ship_9204_linux_disk2.cpio
cpio -idmv < ship_9204_linux_disk3.cpio
You should now have three directories (Disk1, Disk2 and Disk3) containing installation files.
The "/etc/hosts" file must contain a fully qualified name for the server.
<IP-address> <fully-qualified-machine-name> <machine-name>
Add the following lines to the "/etc/sysctl.conf" file.
kernel.shmmax = 2147483648
kernel.shmmni = 128
kernel.shmall = 2097152
kernel.sem = 250 32000 100 128
fs.file-max = 65536
net.ipv4.ip_local_port_range = 1024 65000
Run the following command to change the current kernel parameters:
/sbin/sysctl -p
Add the following lines to the "/etc/security/limits.conf" file.
oracle soft nofile 65536
oracle hard nofile 65536
oracle soft nproc 16384
oracle hard nproc 16384
Install the Java development kit.
# Run the bin file. Agree to the terms and conditions.
./j2sdk-1_3_1_17-linux-i586.rpm.bin
# Install the RPM file.
rpm -ivh jdk-1.3.1_17.i586.rpm
Create the new groups and users.
groupadd oinstall
groupadd dba
groupadd oper
groupadd apache

useradd -g oinstall -G dba oracle
passwd oracle

useradd -g oinstall -G apache apache
passwd apache
Create the directories in which the Oracle software will be installed.
mkdir -p /u01/app/oracle/product/9.2.0
chown -R oracle.oinstall /u01
Login as the oracle user and add the following lines at the end of the ".bash_profile" file.
# Oracle 9i
ORACLE_BASE=/u01/app/oracle; export ORACLE_BASE
ORACLE_HOME=$ORACLE_BASE/product/9.2.0; export ORACLE_HOME
ORACLE_TERM=xterm; export ORACLE_TERM
PATH=$ORACLE_HOME/bin:$PATH:/usr/java/jdk1.3.1_17/bin; export PATH
ORACLE_OWNER=oracle; export ORACLE_OWNER
ORACLE_SID=TSH1; export ORACLE_SID

LD_LIBRARY_PATH=$ORACLE_HOME/lib; export LD_LIBRARY_PATH
CLASSPATH=$ORACLE_HOME/JRE:$ORACLE_HOME/jlib:$ORACLE_HOME/rdbms/jlib; export CLASSPATH
ORACLE_OEM_JAVARUNTIME=/usr/java/jdk1.3.1_17; export ORACLE_OEM_JAVARUNTIME

TMP=/tmp; export TMP
TMPDIR=$TMP; export TMPDIR
Log into the oracle user. If you are using X emulation then set the DISPLAY environmental variable.
DISPLAY=<machine-name>:0.0; export DISPLAY
Start the Oracle Universal Installer (OUI) by issuing the following command in the Disk1 directory.
./runInstaller
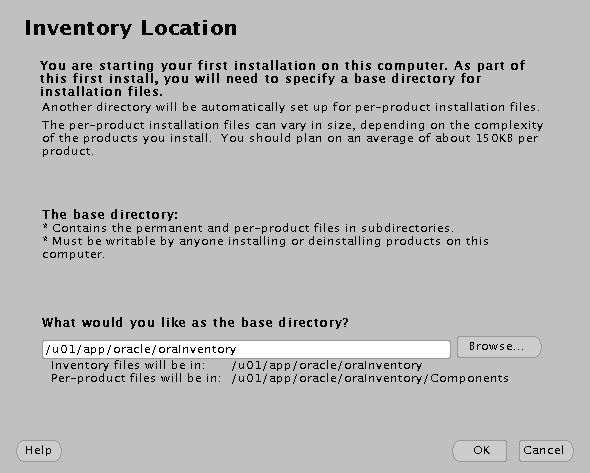
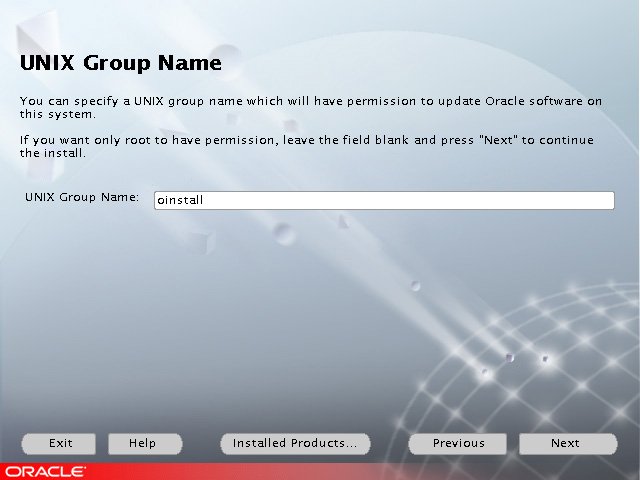
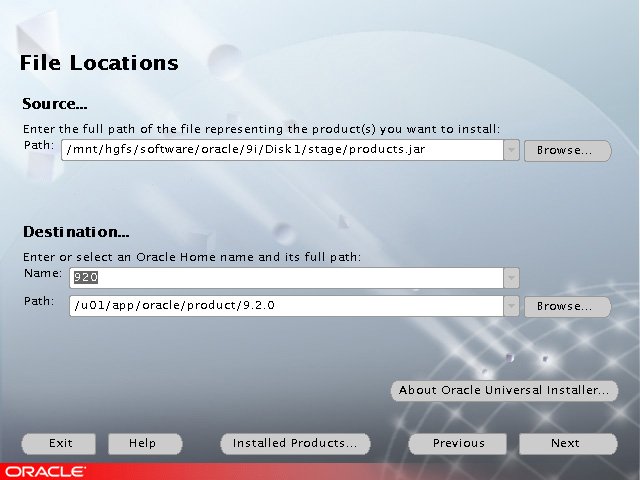
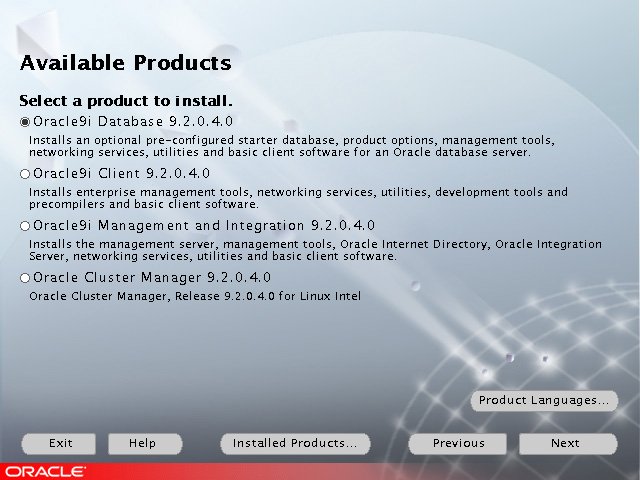
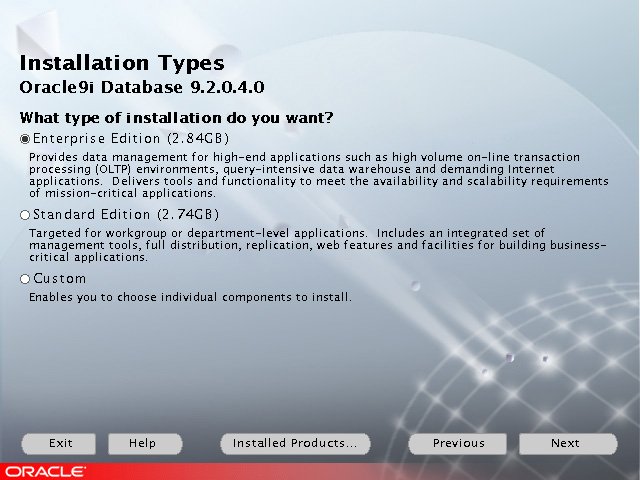
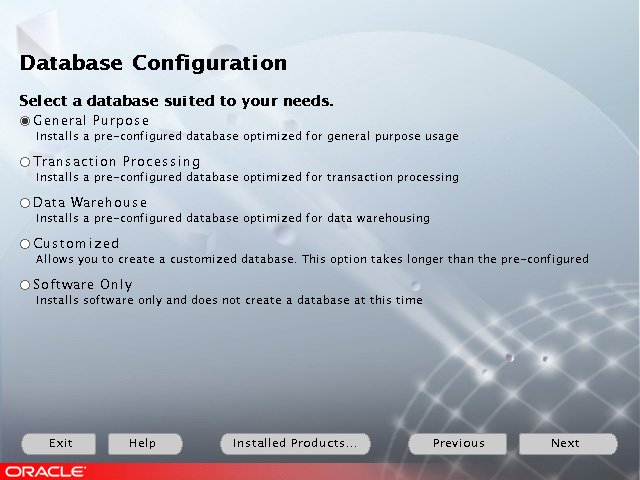
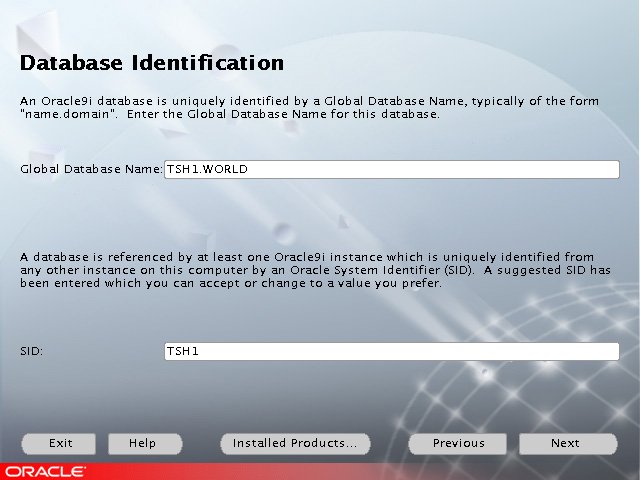
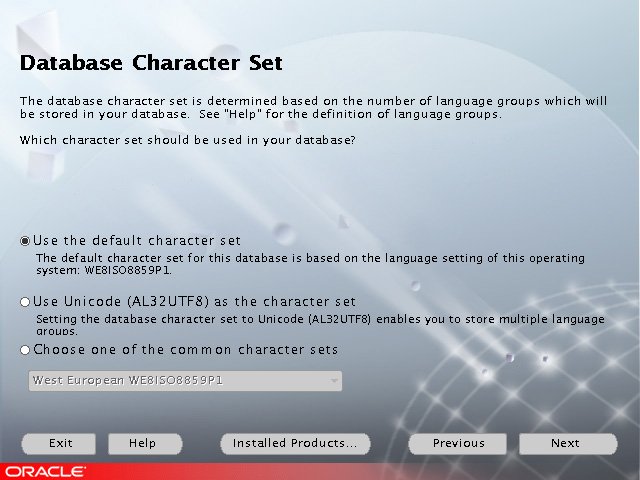
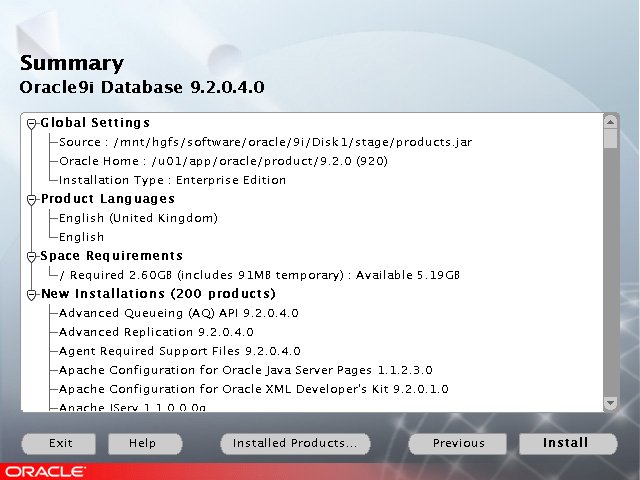
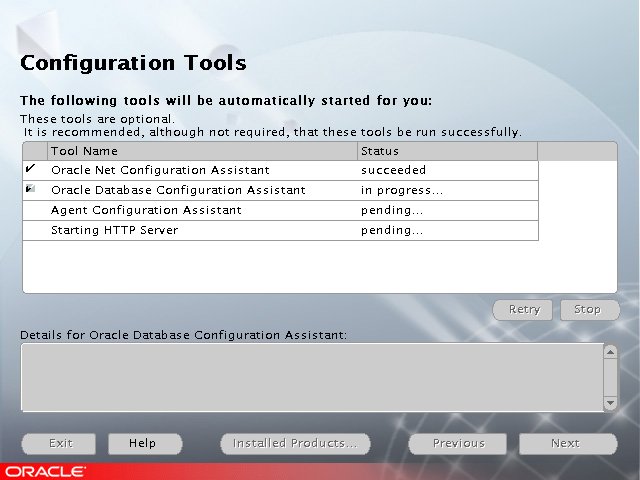
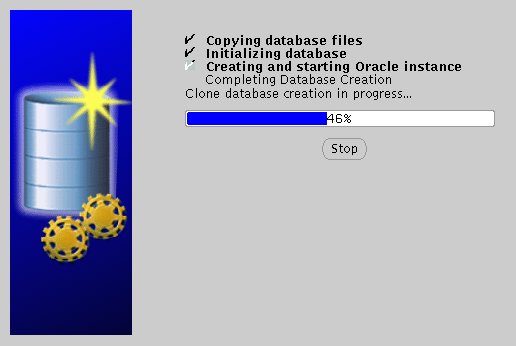
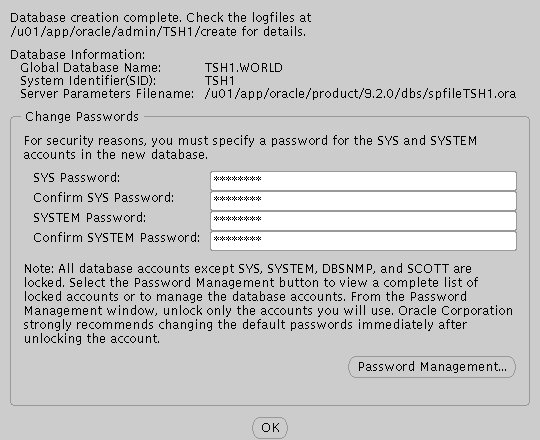
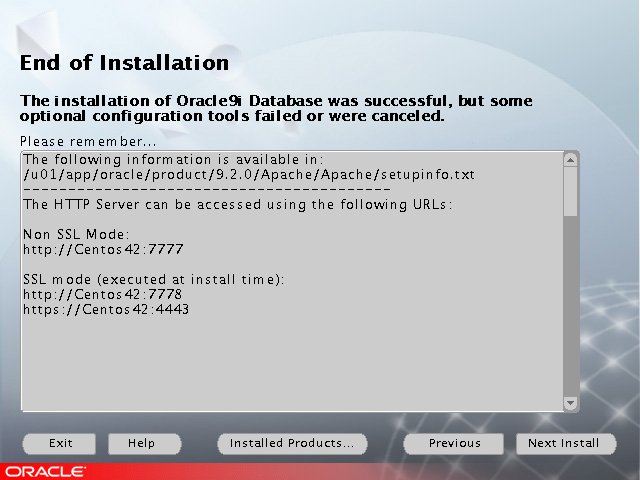
During the installation enter the appropriate ORACLE_HOME and name then continue as normal. For a more detailed look at the installation process, click on the links below to see screen shots of each stage.
Once the instance is created edit the "/etc/oratab" file setting the restart flag for each instance to 'Y'.
TSH1:/u01/app/oracle/product/9.2.0:Y
For more information see:
Hope this helps. Regards Tim...
Back to normal view: https://oracle-base.com/articles/9i/oracle-db-9i-installation-on-rhel-21