8i | 9i | 10g | 11g | 12c | 13c | 18c | 19c | 21c | 23c | Misc | PL/SQL | SQL | RAC | WebLogic | Linux
Oracle Applications (11.5.10.2) Installation on Enterprise Linux 4.5
This article is intended as a brief guide to installing Oracle Applications (11.5.10.2) on Enterprise Linux 4.5. The article is based on a server installation with a minimum of 2G swap, secure Linux disabled and the following package groups installed.
- X Window System
- GNOME Desktop Environment
- Editors
- Graphical Internet
- Server Configuration Tools
- Development Tools
- Administration Tools
- System Tools
Alternative base installations may require additional packages to be loaded.
- Download Software
- Unpack Files
- Hosts File
- Set Kernel Parameters
- Setup
- Installation
- Post Installation
- Shutdown/Startup
- Rapid Installation Wizard Portal
Download Software
Download two additional packages from Oracle Support (4198954).
Make sure an appropriate Java JDK (1.3.1) is available on the system.
Unpack Files
First unzip the Oracle patch.
unzip p4198954_21_LINUX.zip
Next, create a staging area for the Oracle Applications software.
mkdir /Stage11i
cd /Stage11i

# Start Here
mkdir startCD

# APPL_TOP
mkdir oraApps

# RDBMS
mkdir oraDB

# Tools
mkdir oraiAS

# Databases
mkdir oraAppDB
Copy the contents of all the DVDs into the appropriate directories.
Hosts File
The "/etc/hosts" file must contain a fully qualified name for the server.
<IP-address> <fully-qualified-machine-name> <machine-name>
Set Kernel Parameters
Add the following lines to the "/etc/sysctl.conf" file.
kernel.shmmax = 2147483648
kernel.shmmni = 100
kernel.shmall = 2097152
# semaphores: semmsl, semmns, semopm, semmni
kernel.sem = 100 256 100 100
fs.file-max = 327679
kernel.hostname   = testapps01.localdomain  #<--- full qualified hostname !!
kernel.domainname = localdomain             #<--- correct domain name !!
Run the following command to change the current kernel parameters:
/sbin/sysctl -p
Add the following lines to the "/etc/security/limits.conf" file.
oracle soft nofile 65536
oracle hard nofile 65536
oracle soft nproc 16384
oracle hard nproc 16384
Setup
The following additional packages are required. Depending on the update/respin version of Enterprise Linux, the exact package versions and locations may vary.
alsa-lib-devel-*
audiofile-devel-*
compat-db-*
compat-gcc-32-3*
compat-gcc-32-c++-3*
compat-libcwait-2*
compat-libgcc-296-2*
compat-libstdc++-296-2*
compat-oracle-rhel4-1*
esound-0*
esound-devel-0*
fontconfig-devel-2*
freetype-devel-2*
gcc-3*
gcc-c++-3*
glib-1*
glib-devel-1*
gnome-libs-1*
gnome-libs-devel-1*
gtk+-devel-1*
gtk2-devel-2*
imlib-1*
imlib-devel-1*
jdk-1*
libaio-0*
libaio-devel-0*
libjpeg-devel-*
libtiff-devel-*
libungif-devel-*
libungif-progs-*
make-3*
openmotif21*
ORBit-devel-*
xorg-x11-deprecated-libs-6*
xorg-x11-deprecated-libs-devel-6*
xorg-x11-devel-*
Due to all the package inter-dependencies, it probably makes sense to copy all these packages from the CDs to a single directory, then install then using the following command. For convenience, I wrapped all the necessary packages for an OEL 4.5 installation into a single tar file (11i-rh4-rpms.tar), making subsequent installations much simpler.
rpm -Uvh *.rpm
Install the packages associated with Patch 4198954.
cd 4198954
rpm -Uvh compat-oracle-rhel4-1*
rpm -Uvh compat-libcwait-2*
Create the new groups and users.
groupadd oinstall
groupadd dba
groupadd oper
groupadd apache

useradd -g oinstall -G dba oracle
passwd oracle

useradd -g oinstall -G apache apache
passwd apache
Create the directories in which the Oracle software will be installed.
mkdir -p /u01
chown -R oracle:oinstall /u01
Login as the oracle user and add the following line at the end of the ".bash_profile" file.
# Oracle 9i
LD_ASSUME_KERNEL=2.4.19; export LD_ASSUME_KERNEL
Installation
Log into the oracle user. If you are using X emulation then set the DISPLAY environmental variable.
DISPLAY=<machine-name>:0.0; export DISPLAY
Start the Rapid Install Wizard by issuing the following commands.
cd /Stage11i/startCD/Disk1/rapidwiz/
chmod u+x rapidwiz
./rapidwiz
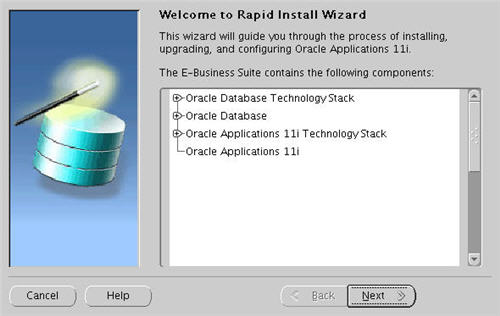
Follow any instructions and rerun as requested. The Rapid Installation Wizard installation is shown below.
Click the "Next" button on the welcome screen.
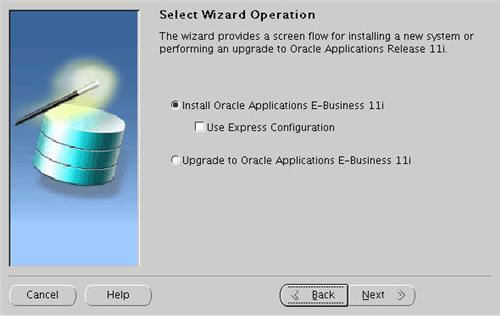
Accept the default "Install Oracle Applications E-Business 11i" option by clicking the "Next" button.
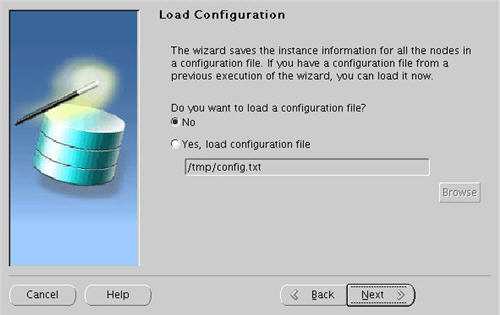
Select the "No" option, then click the "Next" button.
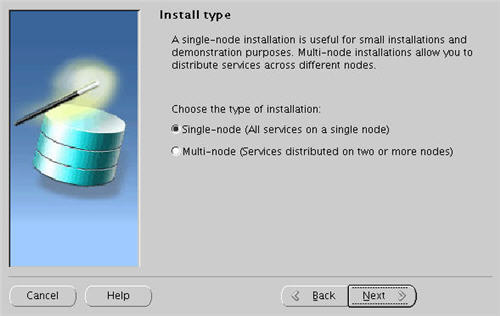
Select the "Single-node" option, then click the "Next" button.
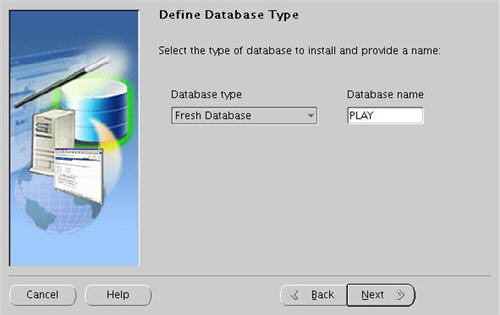
Select the "fresh database" database type, enter a database name, in this case I used "PLAY", then click the "Next" button.
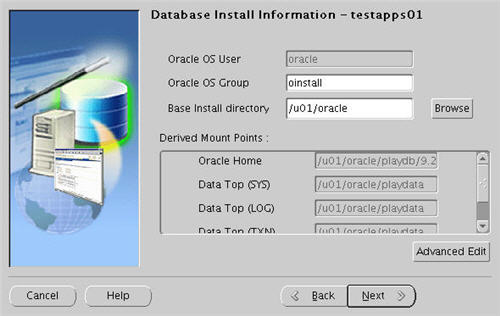
Enter the appropriate base directory, in this case I used "/u01/oracle", then click the "Next" button.
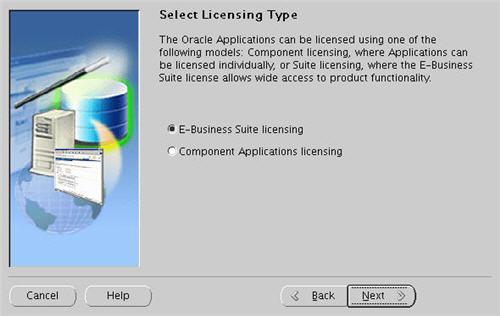
Select the "E-Business Suite licensing" option, then click the "Next" button.
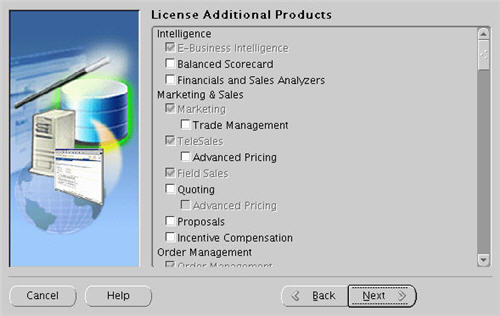
Accept the default products by clicking the "Next" button.
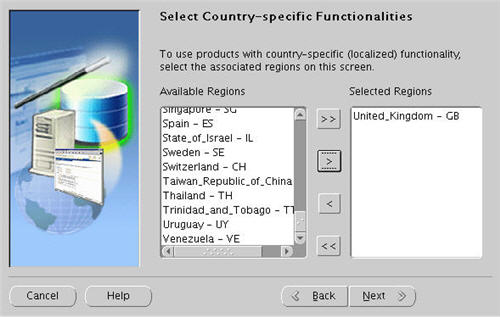
Select the appropriate country functionality, then click the "Next" button.
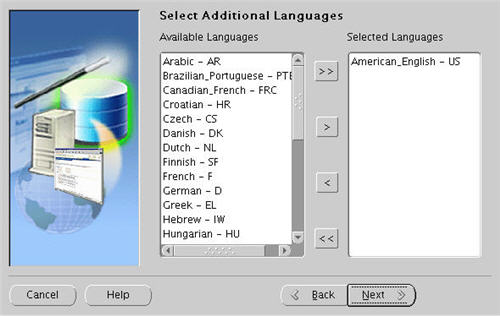
Select any additional language support if necessary, then click the "Next" button.
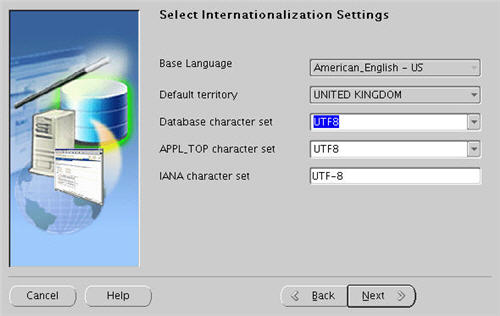
Select the appropriate territory and characterset information, then click the "Next" button.
Enter the appropriate base directory, in this case I used "/u01/oracle", then click the "Next" button.

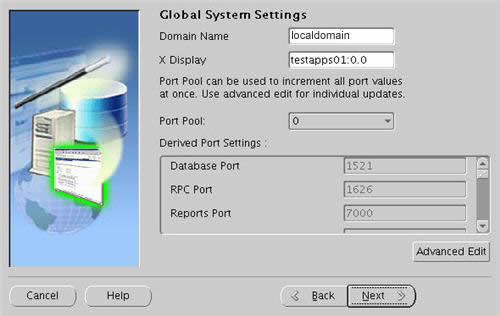
Accept the global settings by clicking the "Next" button.
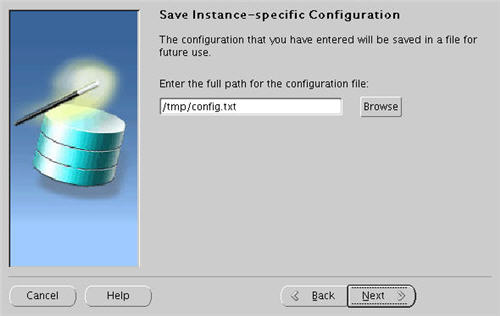
Note the location of the config files. It's worth taking a copy of this file as it comes in hady when reloading or upgrading the software. Click the "Next" button.
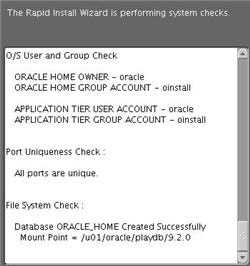
Wait for the system checks to complete.
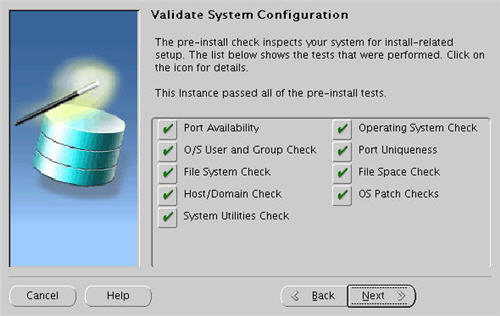
Assuming all the system checks were completed successfully, click the "Next" button.
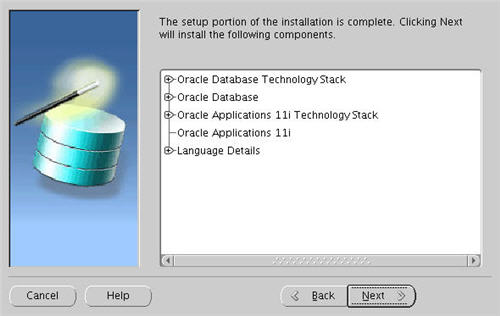
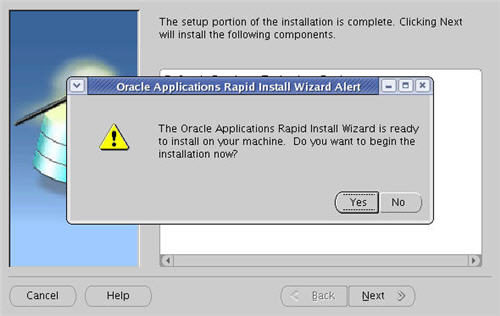
Click the "Next" button on the installation review screen.
Click the "Yes" button to start the installation.
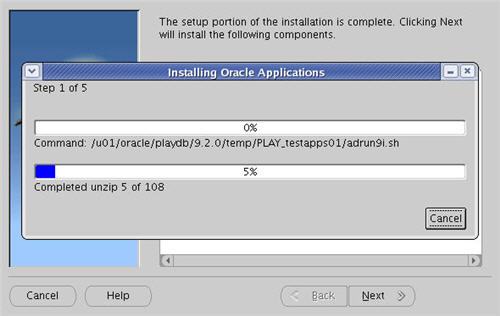
Wait while the installation takes place.
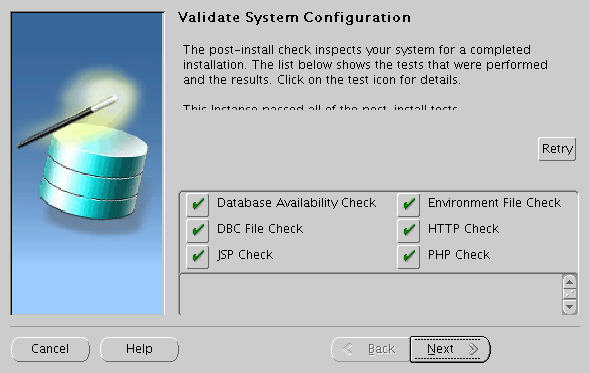
Assuming all the post-install checks are successful, click the "Next" button.
Click the "Finish button to exit the Rapid Install Wizard.

Post Installation
Adjust the following paths and commands by replacing "play" and "PLAY" with the database name you chose during the installation.
Add the following into the "/home/oracle/.bash_profile" file.
DB_HOME=/u01/oracle/playdb/9.2.0; export DB_HOME
IAS_HOME=/u01/oracle/playora/iAS; export IAS_HOME
APACHE_HOME=$IAS_HOME/Apache/Apache; export APACHE_HOME
APPL_TOP=/u01/oracle/playappl; export APPL_TOP
COMMON_TOP=/u01/oracle/playcomn; export COMMON_TOP
CLIENT_HOME=/u01/oracle/playora/8.0.6; export CLIENT_HOME
To switch environments, move to the appropriate home directory and run the environment script.
cd $DB_HOME
. ./PLAY_testapps01.env
Shutdown/Startup
Adjust the following paths and commands by replacing "play" and "PLAY" with the database name you chose during the installation.
To shutdown the system issue the following commands.
cd $COMMON_TOP/admin/scripts/PLAY_testapps01/
./adstpall.sh apps/apps

cd $DB_HOME
. ./PLAY_testapps01.env
cd $ORACLE_HOME/appsutil/scripts/PLAY_testapps01
./addlnctl.sh stop PLAY
./addbctl.sh stop immediate
To start the system issue the following commands.
cd $DB_HOME
. ./PLAY_testapps01.env
cd $ORACLE_HOME/appsutil/scripts/PLAY_testapps01
./addlnctl.sh start PLAY
./addbctl.sh start

cd $COMMON_TOP/admin/scripts/PLAY_testapps01/
./adstrtal.sh apps/apps
./adcmctl.sh start apps/apps
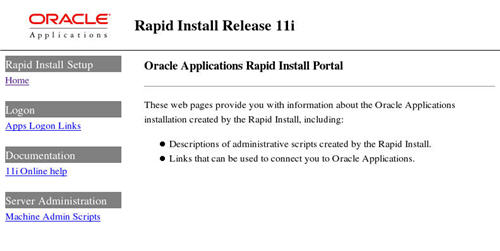
Rapid Installation Wizard Portal
Once the installation is complete, the Rapid Installation Portal can be accessed using the following information.
- URL: http://machine-name:8000
- Username: SYSADMIN
- Password: SYSADMIN
The front screen of the portal is shown below.
To change the SYSADMIN passowrd do the following.
- Log in to the eBusiness Suite homepage as SYSADMIN
- Click on the "preferences" link (top-right).
- Enter the old and new passwords.
For more information see.
Hope this helps. Regards Tim...