8i | 9i | 10g | 11g | 12c | 13c | 18c | 19c | 21c | 23c | Misc | PL/SQL | SQL | RAC | WebLogic | Linux
Home » Articles » Linux » Here
Oracle Enterprise Linux 4.5 Installation
This article provides a pictorial guide for performing a default installation of Oracle Enterprise Linux 4.5.
As you would expect, the installation is almost entirely the same as the Red Hat Enterprise Linux 4 installation, but I was curious to see how Oracle had branded the distribution.
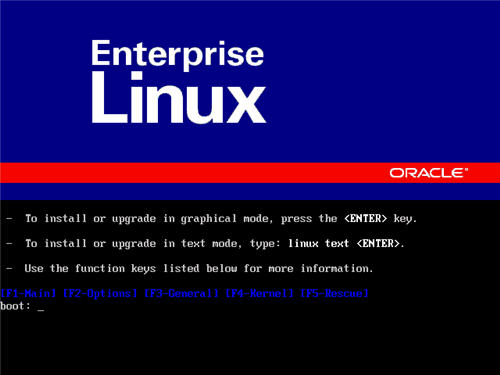
Boot from the CD or DVD. At the boot screen, press the "Enter" key.
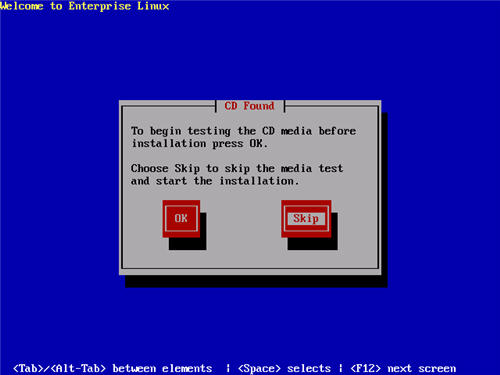
Press the "tab" key to move focus to the "Skip" key, then press the "Enter" key to continue.
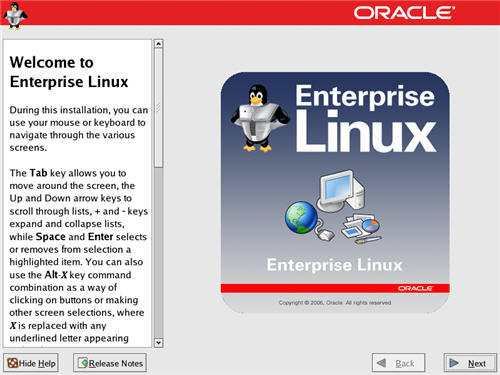
On the "Welcome" screen, click the "Next" button.
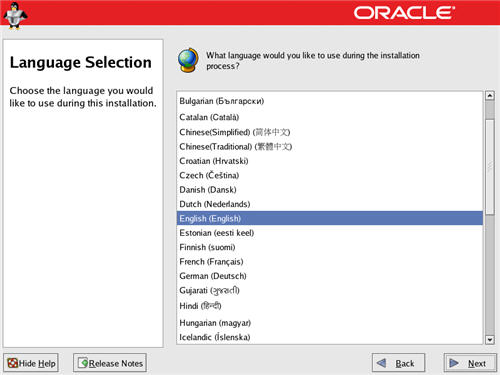
Select the appropriate language, then click the "Next" button.
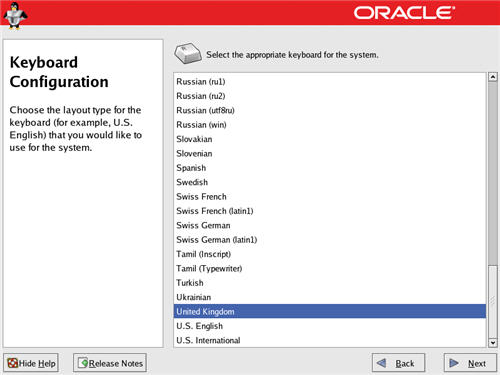
Select the relevant keyboard setting, then click the "Next" button.
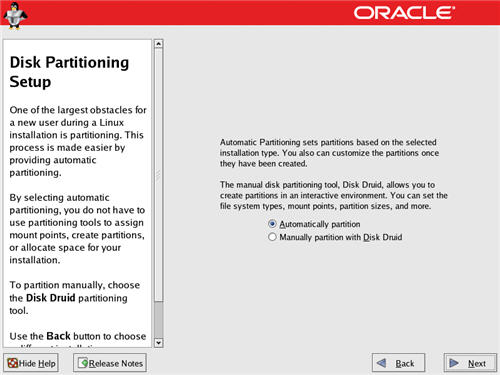
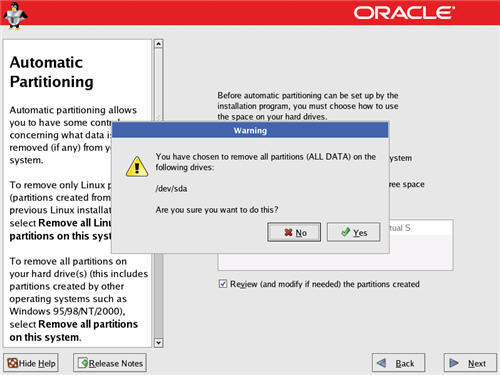
Allow the installer to automatically partition the disk by clicking on the "Next" button.
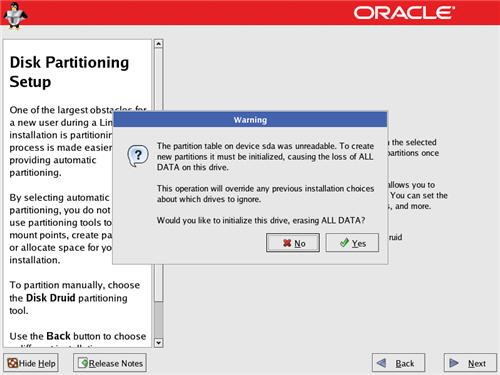
Click the "Yes" button on the subsequent warning dialog.
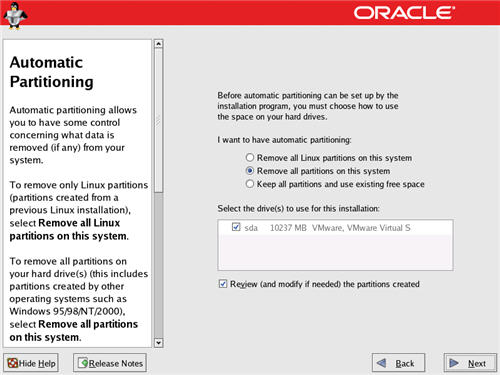
To remove all existing partitions, click the "Next" button.
Click the "Yes" button on the subsequent warning dialog.
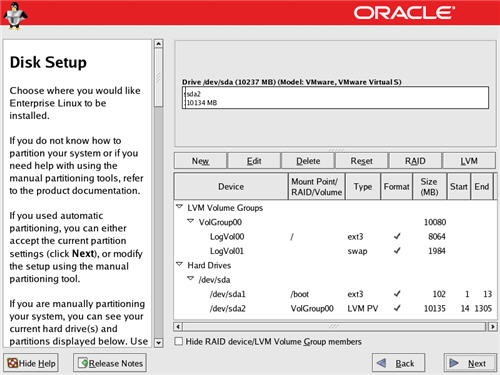
The installer will list the default partitioning scheme for your size disk.
The following screen shots show the actions I take for small test installations
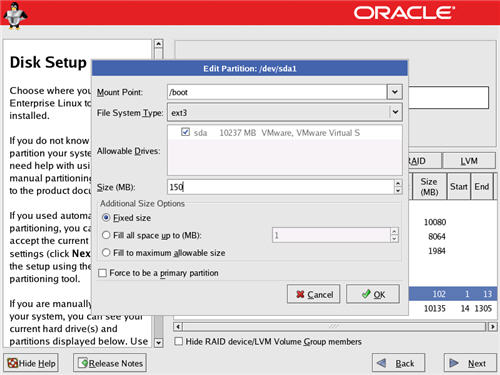
Edit the "/boot" partition, setting it to "150M" and "Fixed size", then click the "Next" button.
The "/root" and "/swap" partitions are part of a volume group.
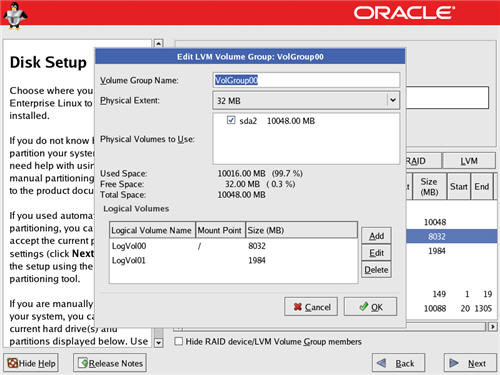
Edit the "/root" partition, setting it to "Fill to maximum allowable size" and "Force to be primary partition", then click the "Next" button.
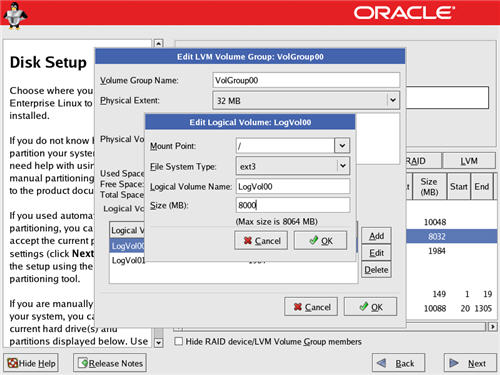
Edit the "swap" partition, setting it to "2048M" and "Fixed size", then click the "Next" button.

If you need additional swap space, simply make this partition bigger.
The partitons screen should now looks something like the following picture, then click the "Next" button.

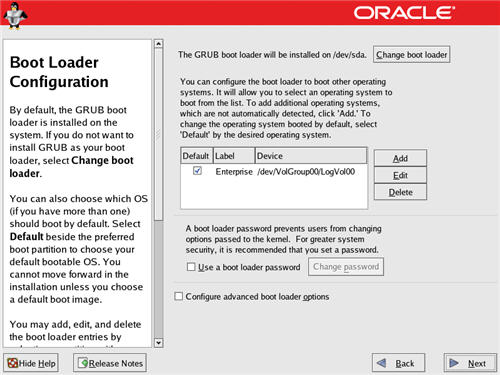
Accept the boot loader settings by clicking the "Next" button.
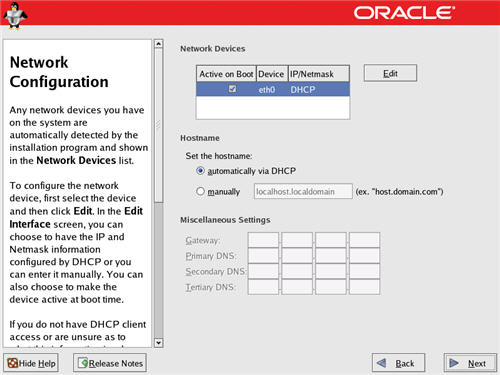
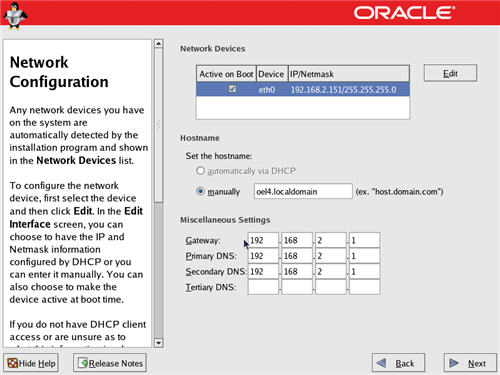
Configure the network interface with the apropriate settings. This can be done automatically using DHCP, or manually.
If you are not using DHCP, enter the appropriate IP addess and subnet mask, then click the "OK" button.
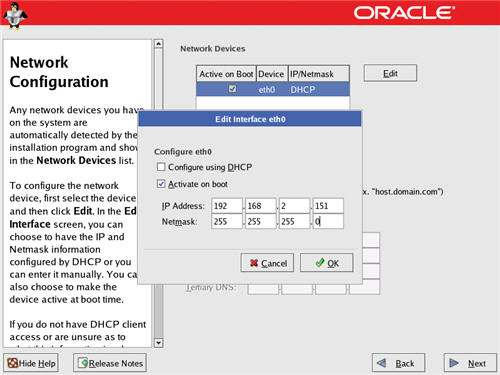
If you are not using DHCP, enter the host name, gateway and DNS information, then click the "Next" button.
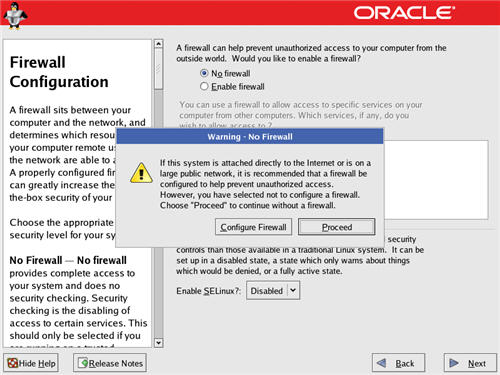
Select the appropriate firewall and Secure Linux configuration for your installation. For most test installations I select the "No firewall" option and disable Secure Linux to prevent networking problems during setup. Click the "Next" button to proceed.

Ignore the subsequent warning by clicking the "Continue" button.
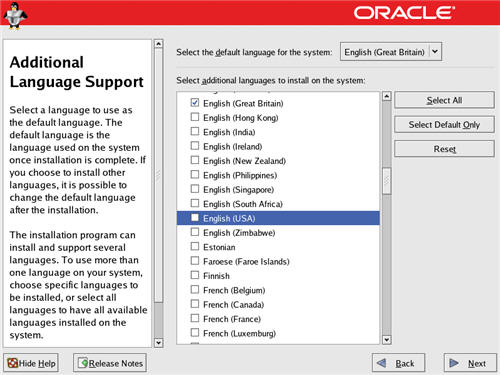
Select the appropriate language support for your installation, then click the "Next" button.
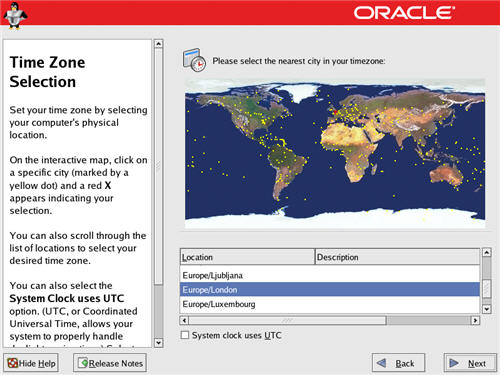
Select the relevant time zone setting by clicking on the map, or selecting it on the selection list. Click on the "Next" button to proceed.
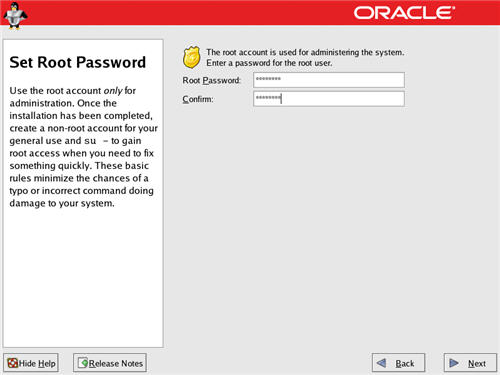
Enter a root password for the server, then click the "Next" button to proceed.
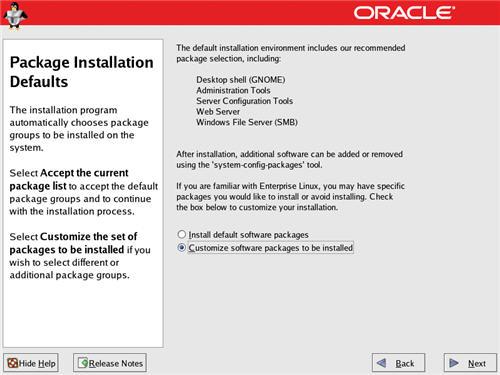
Select the appropriate package groups for your installation and click the "Next" button.
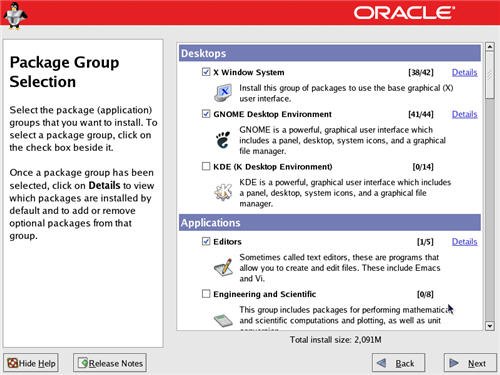
The "Package Group Selection" screen allows you to select the required package groups, and inidividual packages within the details section. When you've made your selection, click the "Next" button.
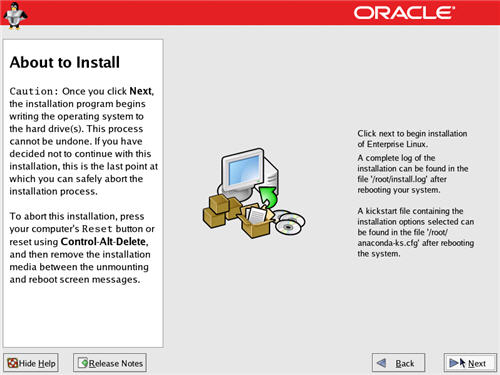
On the "About to Install" screen, click the "Next" button.
Click the "Continue" button on the "Required Install Media" screen.
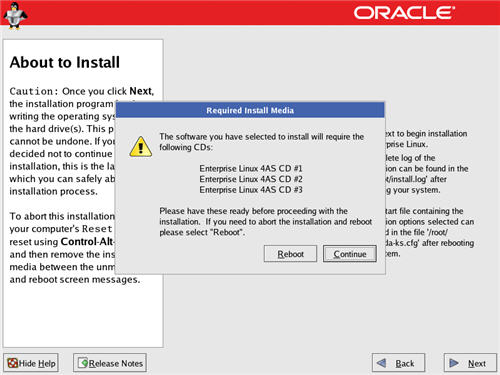
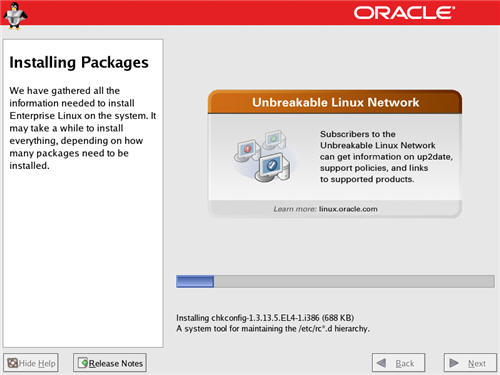
During the installation phase, enter the appropriate CDs as requested.
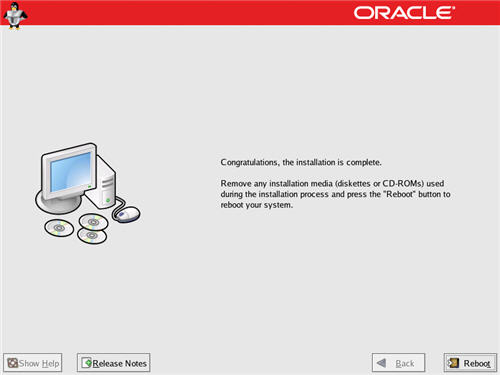
Click the "Reboot" button to complete the installation.
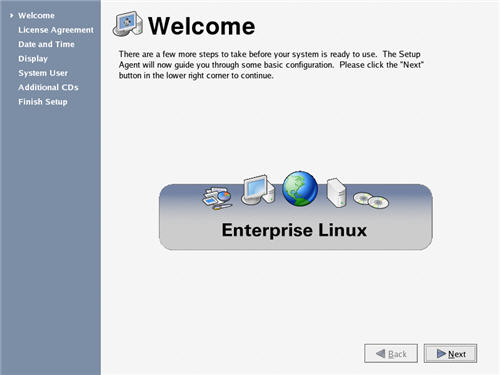
On the "Welcome" screen, click the "Next" button.
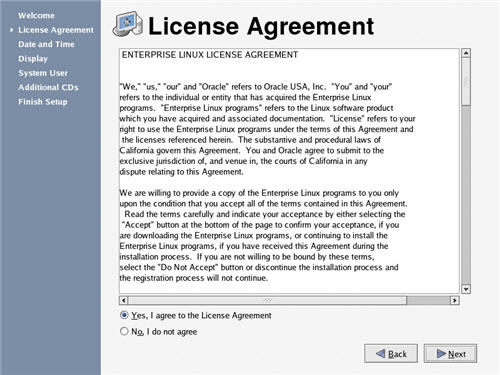
Accept the license agreement and click the "Next" button.
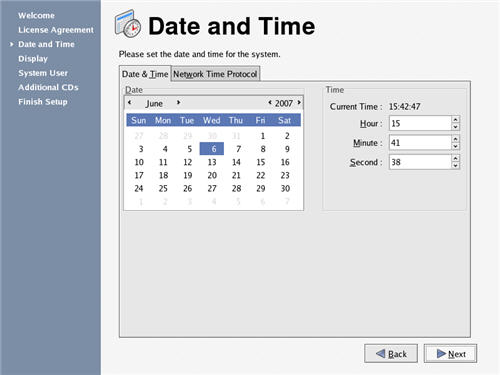
Adjust the Date and Time settings if necessary, and click the "Next" Button.
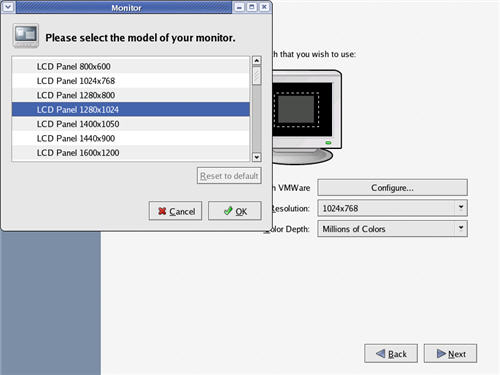
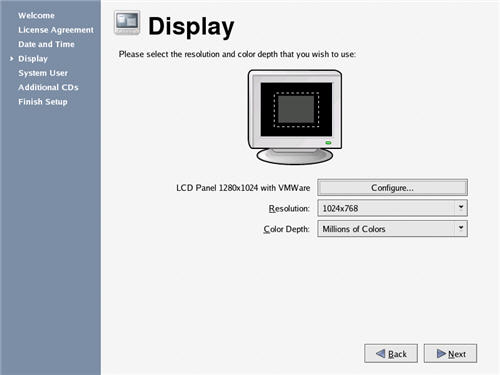
The "Display" screen allows you to select the appropriate monitor and screen resolution for your installation.

Select the appropriate monitor, or a generic equivalent, then click the "OK" button.
Select the appropriate screen resolution for your graphics card and monitor, then click the "Next" button.
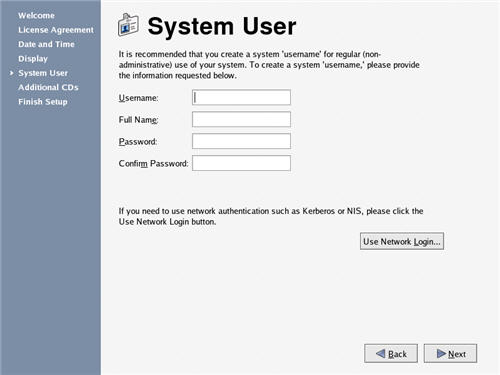
Create an additional system user if required, and click the "Next" button.
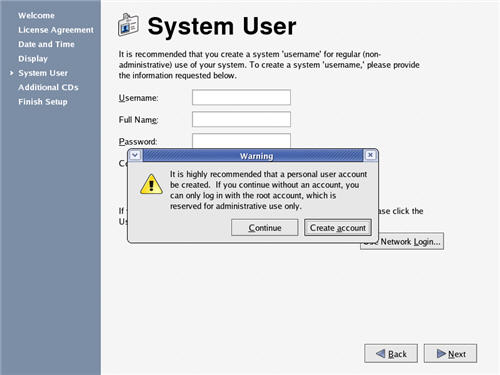
If you chose not to define an additional system user, click the "Continue" button on the resulting warning dialog.
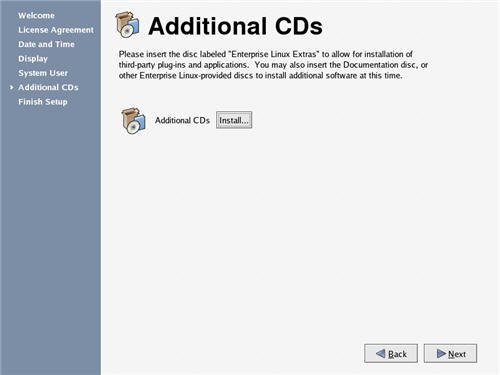
On the "Additional CDs" screen, click the "Next" button.
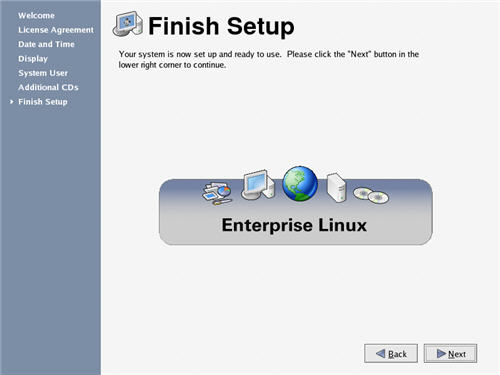
On the "Finish Setup" screen, click the "Next" button.
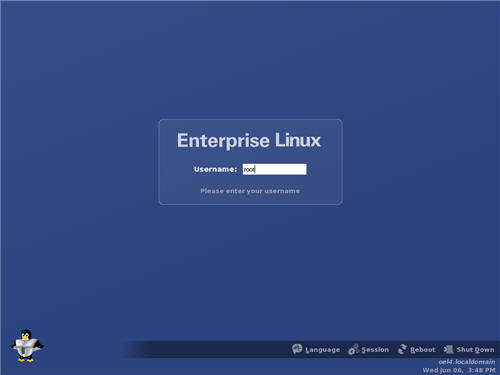
Once the system has rebooted, you are presented with the login screen.
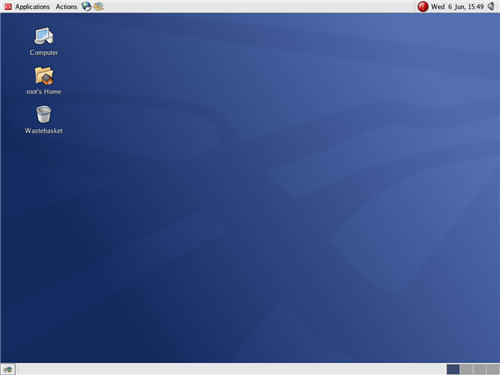
Once logged in, you are ready to use the desktop.
For more information see.
Hope this helps. Regards Tim...