8i | 9i | 10g | 11g | 12c | 13c | 18c | 19c | 21c | 23c | Misc | PL/SQL | SQL | RAC | WebLogic | Linux
Oracle VM (3.0.1) Installation
This article gives a brief overview of the installation of Oracle VM Server and Oracle VM Manager version 3.0.1 (64-bit).
Oracle VM Software
The Oracle VM software can be downloaded from the Oracle E-Delivery Web site for Oracle Linux and Oracle VM.
Oracle VM Server
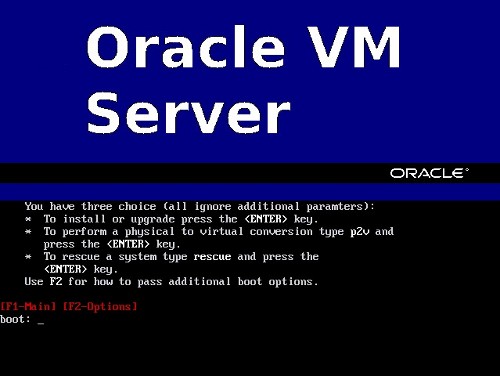
The Oracle VM Server software is a bare-metal installation, which means it is installed directly on to the server with no initial OS installation. After placing the CD into the drive and starting the server you are presented with the boot screen. Press the "Return" key to continue.
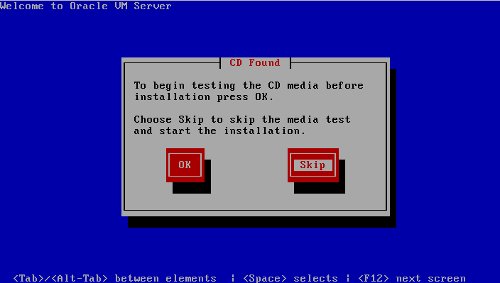
If you need to do a media test, then tab to the "OK" button and press the "Return" key, otherwise tab to the "Skip" button and press the "Return" key.
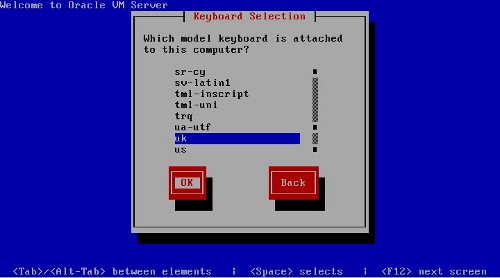
Select the required keyboard layout, tab to the "OK" button and press the "Return" key.
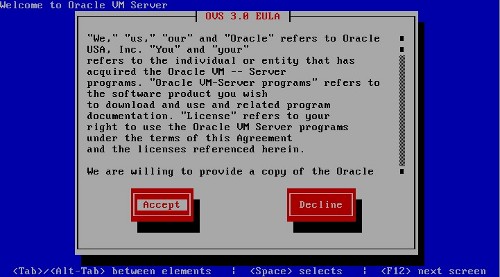
To accept the license agreement, tab to the "Accept" button and press the "Return" key.
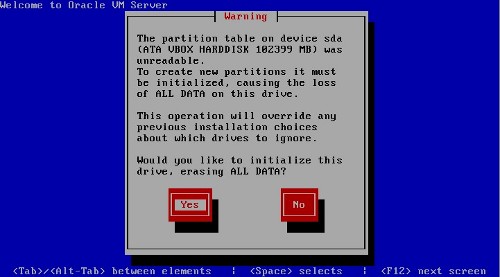
Confirm the partitioning warning by tabbing to the "Yes" button and pressing the "Return" key.
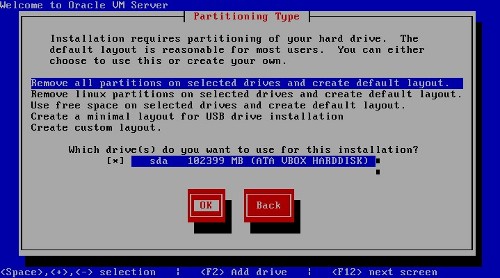
Select the correct drive, tab to the "OK" button and press the "Return" key.
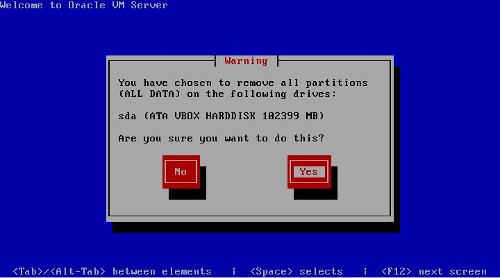
On the warning screen, tab to the "Yes" button and press the "Return" key.
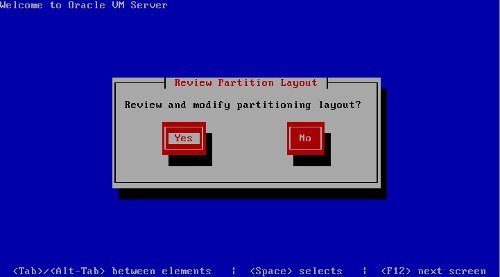
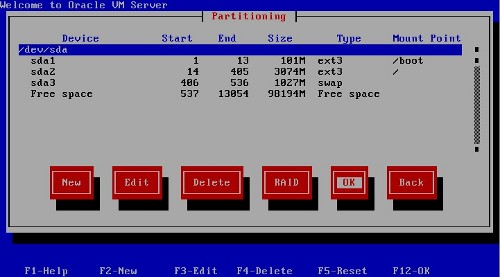
If you wish to review the partitioning layout, tab to the "Yes" button and press the "Return" key.
If you are happy with the partition layout, tab to the "OK" button and press the "Return" key.
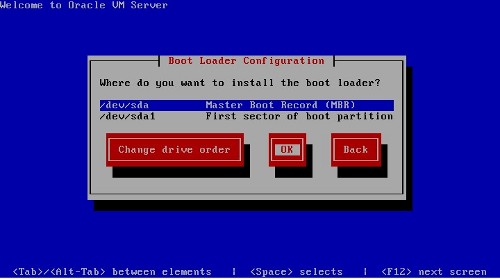
Select the preferred boot loader configuration, then tab to the "OK" button and press the "Return" key.
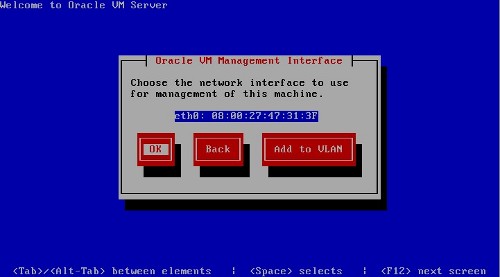
Select the network interface for the management interface, tab to the "OK" button and press the "Return" key.
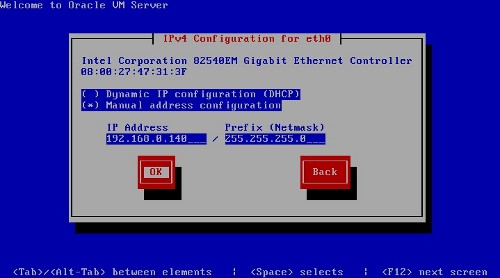
Enter the relevant network configuration, tab to the "OK" button and press the "Return" key.
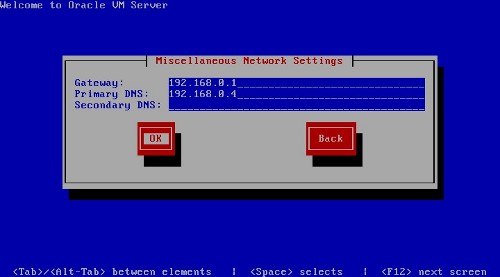
Enter the gateway and DNS information, tab to the "OK" button and press the "Return" key.
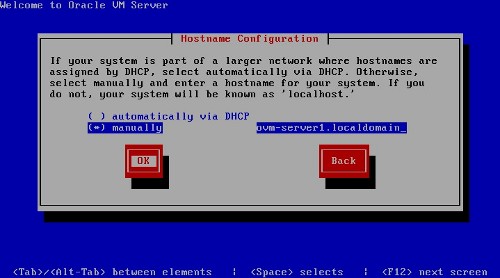
Enter the hostname information, tab to the "OK" button and press the "Return" key.
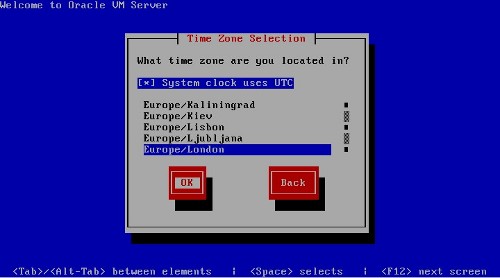
Select the relevant timezone, tab to the "OK" button and press the "Return" key.
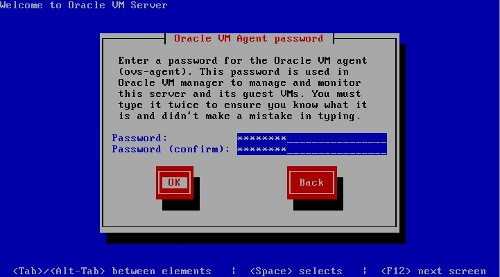
Enter the agent password, tab to the "OK" button and press the "Return" key.
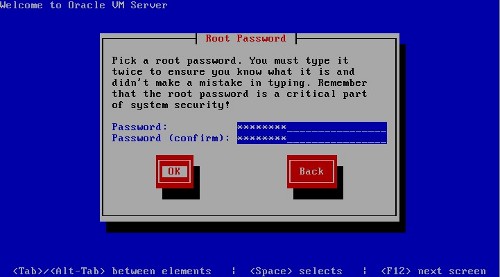
Enter the root password, tab to the "OK" button and press the "Return" key.
On the review screen, tab to the "OK" button and press the "Return" key.
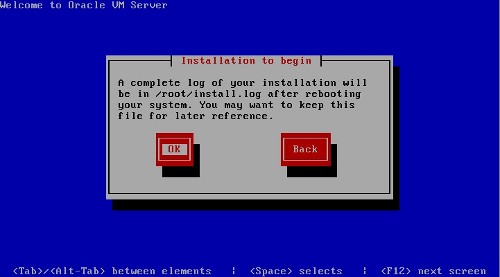
Wait while the installation takes place.

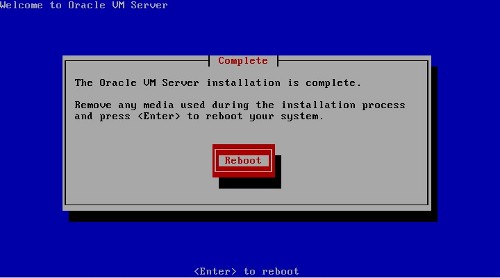
Once complete, press the "Return" key to reboot the server.
You are then presented with the console screen.
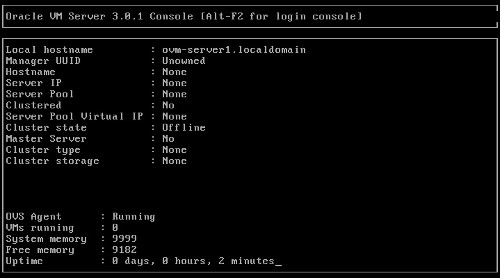
Log in to use the command line for management tasks, or install the Oracle VM Manager software on a separate server.
Oracle VM Manager
The Oracle VM Manager is installed on a separate server running 64-bit Linux. In this article it was installed on Oracle Enterprise Linux (OEL) 5.7 (64-bit) with a minimum of 2G RAM, 4G swap and firewall and secure Linux disabled. The OEL installation included the following package groups:
- GNOME Desktop Environment
- Editors
- Graphical Internet
- Text-based Internet
- Development Libraries
- Development Tools
- Server Configuration Tools
- Administration Tools
- Base
- System Tools
- X Window System
An example of this type of Linux installations can be seen here.
Install the "oracle-validated" package to perform most of the prerequisite setup. Follow the instructions at http://public-yum.oracle.com to setup the yum repository for OL, then perform the following command.
# yum install oracle-validatedCreate the "/u01" mountpoint and change its ownership to "oracle".
# mkdir /u01
# chown oracle:oinstall /u01
Mount the OVM media as the "root" user.
# # Real CD or DVD.
# mkdir /media/cdrom
# mount /dev/cdrom /media/cdrom

# # ISO image.
# mkdir /media/cdrom
# mount -o loop,ro OracleVM-Manager-3.0.1.iso /media/cdrom
Then start the installation as the "root" user. The installation requires decisions to be made about the type of installation along with several passwords. The user entry for this installation is shown in bold.
# cd /media/cdrom
# sh runInstaller.sh

Oracle VM Manager Release 3.0.1 Installer

Oracle VM Manager Installer log file:
  /tmp/ovmm-installer.selfextract_Cv7872/install-2011-08-27-155850.log


Please select an installation type:
   1: Simple
   2: Standard
   3: Uninstall
   4: Help

   Select Number (1-4): 2

Starting standard installation ...


Verifying installation prerequisites ...

Oracle Database Repository
==========================
Would you like to install Oracle Database 11g Express Edition (XE) or connect to an existing Oracle database?
   1: Install Oracle Database 11g XE
   2: Use an existing Oracle database

   Select Number (1-2): 1

Enter the Oracle Database SYSTEM password:
Enter the Oracle Database SYSTEM password (confirm):
Enter the Oracle Application Express (APEX) port [8080]:
Enter the Oracle Database listener port [1521]:
Enter the Oracle VM Manager database schema [ovs]:
Enter the Oracle VM Manager database schema password:
Enter the Oracle VM Manager database schema password (confirm):

Oracle Weblogic Server 11g
==========================
Enter the Oracle WebLogic Server 11g user [weblogic]:
Enter the Oracle WebLogic Server 11g user password:
Enter the Oracle WebLogic Server 11g user password (confirm):

Oracle VM Manager application
=============================
Enter the username for the Oracle VM Manager administration user [admin]:
Enter the admin user password:
Enter the admin user password (confirm):

Verifying configuration ...

Start installing the configured components:
   1: Continue
   2: Abort

   Select Number (1-2): 1
Step 1 of 9 : Database ...
Installing Database ...

Retrieving Oracle Database 11g XE ...
Installing Oracle Database 11g XE ...
Configuring Oracle Database 11g XE ...
Step 2 of 9 : Java ...
Installing Java ...
Step 3 of 9 : Database Schema ...
Creating database schema 'ovs' ...
Step 4 of 9 : WebLogic ...
Retrieving Oracle WebLogic Server 11g ...
Installing Oracle WebLogic Server 11g ...

Step 5 of 9 : ADF ...
Retrieving Oracle Application Development Framework (ADF) ...
Unzipping Oracle ADF ...
Installing Oracle ADF ...

Step 6 of 9 : Oracle VM  ...
Retrieving Oracle VM Manager Application ...
Extracting Oracle VM Manager Application ...
Installing Oracle VM Manager Core ...
Step 7 of 9 : Domain creation ...
Creating Oracle WebLogic Server domain ...
Starting Oracle WebLogic Server 11g ...
Configuring data source 'OVMDS' ...
Creating Oracle VM Manager user 'admin' ...
Step 8 of 9 : Deploy ...
Deploying Oracle VM Manager Core container ...
Deploying Oracle VM Manager UI Console ...
Deploying Oracle VM Manager Help ...
Enabling HTTPS ...
Granting ovm-admin role to user 'admin' ...

Step 9 of 9 : Oracle VM Manager Shell ...
Retrieving Oracle VM Manager Shell & API ...
Extracting Oracle VM Manager Shell & API ...
Installing Oracle VM Manager Shell & API ...

Retrieving Oracle VM Manager Upgrade tool ...
Extracting Oracle VM Manager Upgrade tool ...
Installing Oracle VM Manager Upgrade tool ...
Copying Oracle VM Manager shell to '/usr/bin/ovm_shell.sh' ...
Installing ovm_admin.sh in '/u01/app/oracle/ovm-manager-3/bin' ...
Installing ovm_upgrade.sh in '/u01/app/oracle/ovm-manager-3/bin' ...
Enabling Oracle VM Manager service ...
Oracle VM Manager installed.

Installation Summary
--------------------
Database configuration:
  Database host name          : localhost
  Database instance name (SID): XE
  Database listener port      : 1521
  Application Express port    : 8080
  Oracle VM Manager schema    : ovs

Weblogic Server configuration:
  Administration username     : weblogic

Oracle VM Manager configuration:
  Username                    : admin
  Core management port        : 54321
  UUID                        : 0004fb0000010000b49bbb23e96fd5c6


Passwords:
There are no default passwords for any users. The passwords to use for Oracle VM Manager, Oracle Database 11g XE, and Oracle WebLogic Server have been set by you during this installation. In the case of a default install, all passwords are the same.

Oracle VM Manager UI:
  http://ovm-manager.localdomain:7001/ovm/console
  https://ovm-manager.localdomain:7002/ovm/console
Log in with the user 'admin', and the password you set during the installation.

Please note that you need to install tight-vnc on this computer to access a virtual machine's console.

For more information about Oracle Virtualization, please visit:
  http://www.oracle.com/virtualization/

Oracle VM Manager installation complete.
#
The Oracle VM Manager can then be accessed from the address listed at the end of the installation (https://ovm-manager.localdomain:7002/ovm/console).
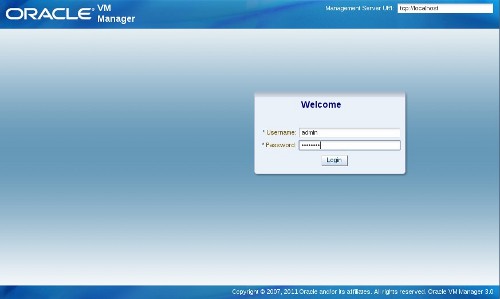
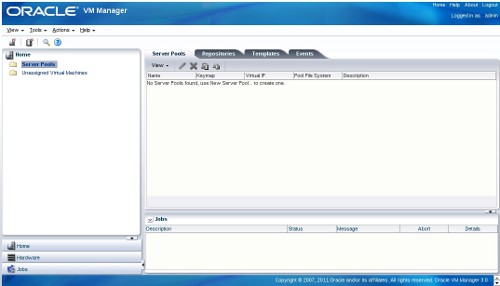
Log in using the "admin" user along with the password entered during the installation.
For more information see:
Hope this helps. Regards Tim...