8i | 9i | 10g | 11g | 12c | 13c | 18c | 19c | 21c | 23ai | Misc | PL/SQL | SQL | RAC | WebLogic | Linux
Oracle Forms and Reports 11gR2 Installation on Oracle Linux 5
This article describes the default installation of Oracle Forms and Reports on Oracle Linux 5. The article assumes there is already an Oracle WebLogic Server 11gR1 (10.3.6) installation present on the machine. During the lifespan of this version of Oracle forms both Java 6 and Java 7 have been supported. If you are doing a new installation you should use the latest download of Oracle forms and Java 7.
Related Articles.
- Oracle WebLogic Server (WLS) 11gR1 (10.3.5 and 10.3.6) Installation on Oracle Linux 5 and 6
- Oracle Forms and Reports Services 11gR2 Configuration Notes
Software
Download the Forms and Reports 11gR2 software from Oracle Technology Network.
- Oracle Fusion Middleware Downloads (ofm_frmrpts_linux_11.1.2.0.0_64_disk1_1of1.zip)
Prerequisites
In addition to any prerequisites performed during the WebLogic 11g installation, the following packages should be installed.
yum install libaio-devel -y
yum install sysstat -y
yum install openmotif -y
yum install openmotif22 -y
Turning off the firewall and setting SELinux to Permissive reduces the chances of problems during the installation. You can see how to do this here.
Installation
Unzipping the "ofm_frmrpts_linux_11.1.2.1.0_64_disk1_1of1.zip" file will result in 4 directories (Disk1, Disk2, Disk3 and Disk4). Start the installer from the "Disk1" directory.
$ cd ofm_frmrpts_linux_11.1.2.1.0_64_disk1_1of1/Disk1
$ ./runInstaller
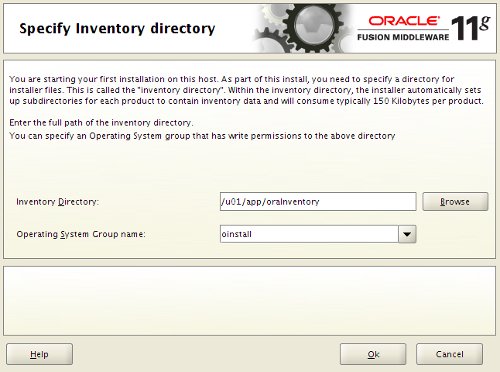
Enter "/u01/app/oraInventory" as the inventory directory and click the "OK" button.
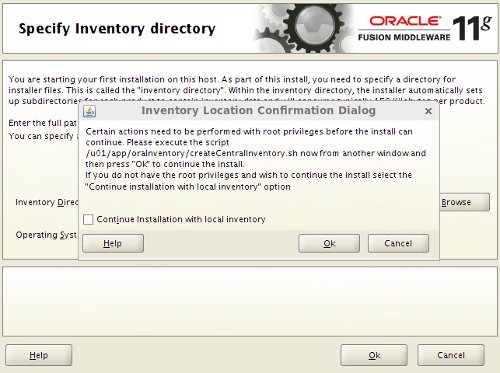
Run the "/u01/app/oraInventory/createCentralInventory.sh" as the "root" user, then click the "OK" button.
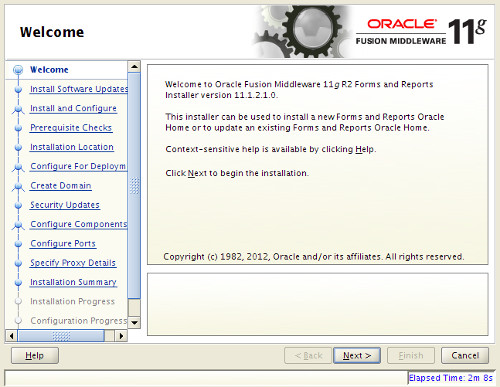
Click the "Next" button on the Welcome screen.
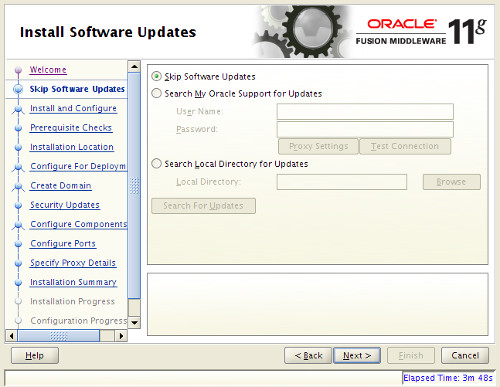
Select the "Skip Software Updates" radio group, then click the "Next" button.
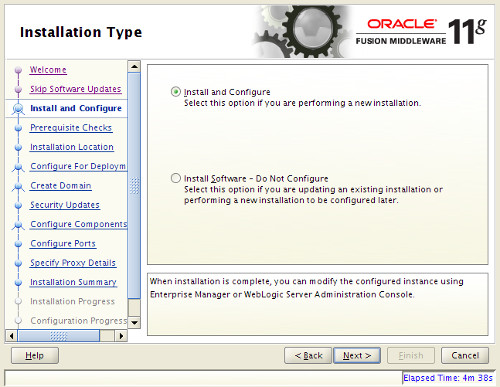
Accept the "Install and Configure" option by clicking the "Next" button.
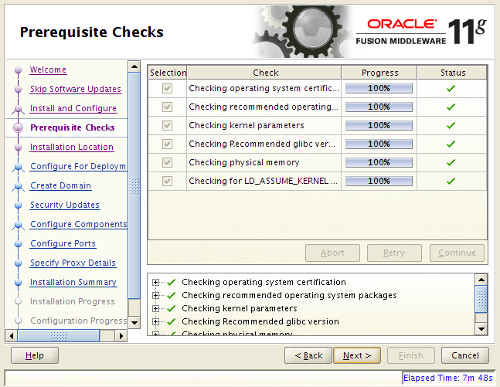
If the prerequisites were successful, click the "Next" button. You will not see this screen if you used the "-ignoreSysPrereqs" flag.
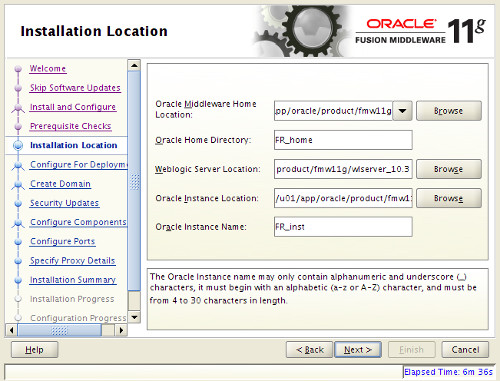
Select a previously installed 10.3.6 middlware home, then click the "Next" button.
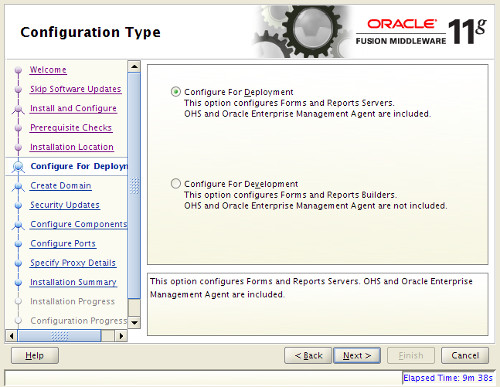
Select the "Configure for Deployment" option, then click the "Next" button.
Enter the username, password and domain name, then click the "Next" button.

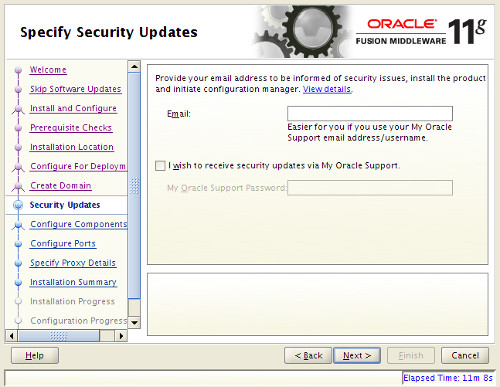
Uncheck the security updates checkbox, then click the "Next" button.
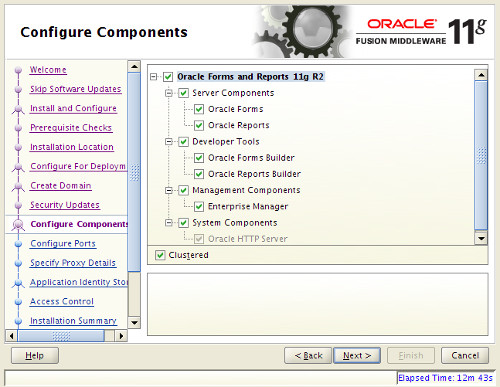
Select the products you want to configure, then click the "Next" button.
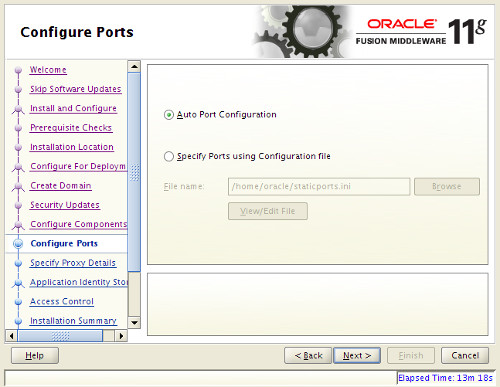
Accept the "Auto Port Configuration" option by clicking the "Next" button.
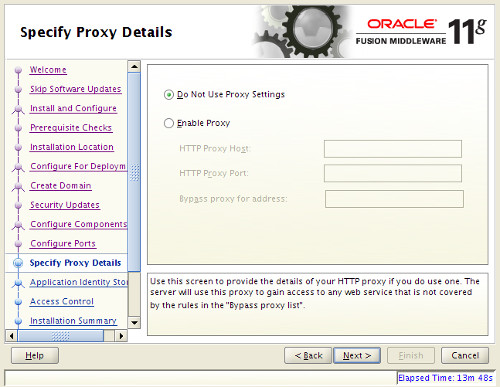
If you need them, enter the relevant proxy settings, then click the "Next" button.
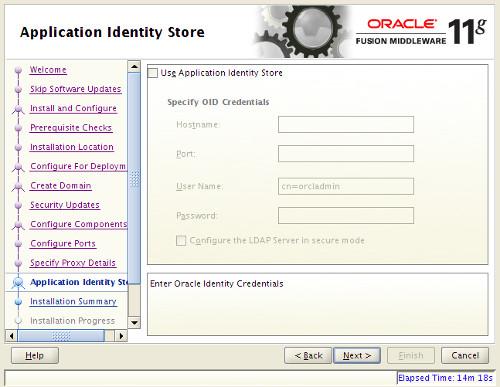
Enter your OID credentials if you have them or uncheck the checkbox, then click the "Next" button.
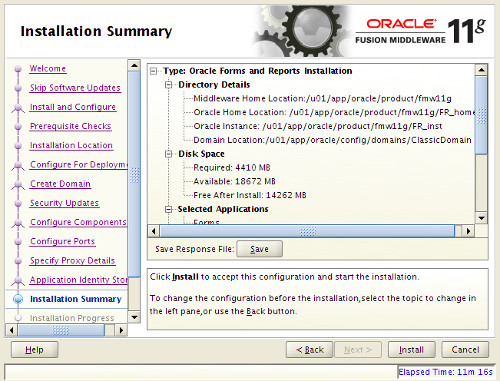
If you are happy with the installation summary, click the "Install" button.
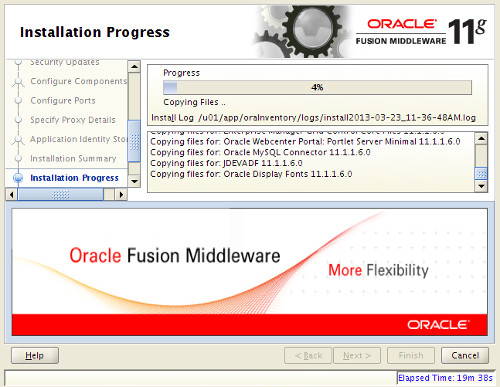
Wait while the installation takes place.
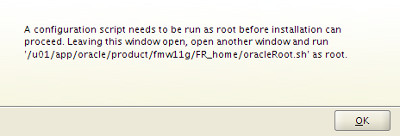
When prompted, run the "oracleRoot.sh" file as the "root" user, then click the "OK" button.
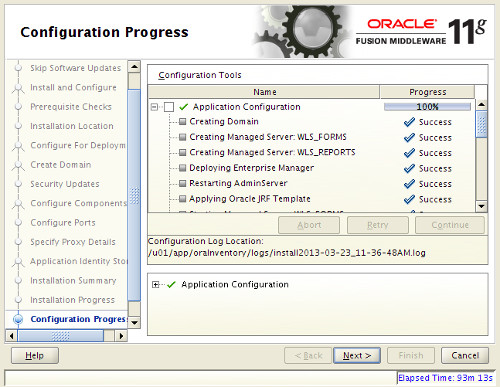
If the installation is successful, the configuration progress screen will start automatically. When the configuration reaches 100%, click the "Next" button.
On the final screen, click the "Finish" button.
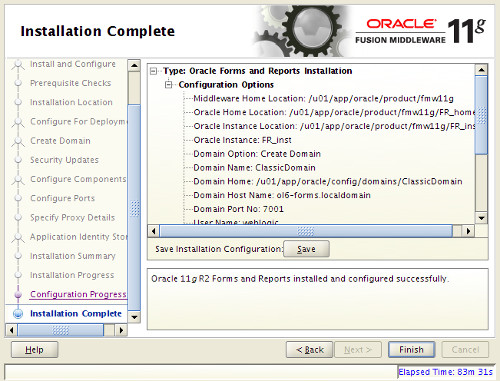
Your installation is now complete.
Post-Installation
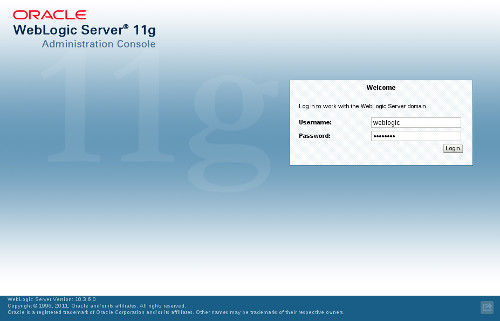
Once the server is started you can access the administrator console using the "http://hostname:7001/console" URL. Log in using the username and password set during the installation.
The following scripts are useful. They assume a Boot Identity File has been created for the AdminServer and the WLS_FORMS and WLS_REPORTS managed servers.
export MW_HOME=/u01/app/oracle/middleware
export WLS_HOME=$MW_HOME/wlserver_10.3
export WL_HOME=$WLS_HOME
export FR_HOME=$MW_HOME/Oracle_FRHome1
export FR_INST=$MW_HOME/asinst_1

# Start NodeManager
nohup $WLS_HOME/server/bin/startNodeManager.sh > /dev/null 2>&1 &

# Start WebLogic Domain
nohup $MW_HOME/user_projects/domains/ClassicDomain/bin/startWebLogic.sh > /dev/null 2>&1 &

sleep 60

# Start the managed Servers
nohup $MW_HOME/user_projects/domains/ClassicDomain/bin/startManagedWebLogic.sh WLS_FORMS > /dev/null 2>&1 &
nohup $MW_HOME/user_projects/domains/ClassicDomain/bin/startManagedWebLogic.sh WLS_REPORTS > /dev/null 2>&1 &

sleep 60

# Start anything remaining using OPMN
$FR_INST/bin/opmnctl startall


# Stop anything remaining using OPMN
$FR_INST/bin/opmnctl stopall

# Stop the managed Servers
$MW_HOME/user_projects/domains/ClassicDomain/bin/stopManagedWebLogic.sh WLS_FORMS
$MW_HOME/user_projects/domains/ClassicDomain/bin/stopManagedWebLogic.sh WLS_REPORTS

# Stop WebLogic Domain
$MW_HOME/user_projects/domains/ClassicDomain/bin/stopWebLogic.sh
The basic URLs of importance are shown below. Ports may vary between installations.
- http://localhost:7001/console (Console)
- http://localhost:7001/em (Enterprise Manager)
- http://localhost:9001/forms/frmservlet (Forms Base URL)
- http://localhost:9002/reports/rwservlet (Reports Base URL)
- http://localhost:8888/forms/frmservlet (Base HTTP URL you would normally use to initiate Forms and Reports)
- https://localhost:8890/forms/frmservlet (Base HTTPS URL you would normally use to initiate Forms and Reports)
Before you can start using Forms and Reports Services you will need to do some environment configuration, which is discussed here.
For more information see:
- Oracle WebLogic Server (WLS) 11gR1 (10.3.5 and 10.3.6) Installation on Oracle Linux 5 and 6
- Oracle Forms and Reports Services 11gR2 Configuration Notes
- Oracle Fusion Middleware Downloads
- Oracle Fusion Middleware: Forms and Reports Documentation
- Oracle Fusion Middleware Installation Guide for Oracle Forms and Reports 11g Release 2 (11.1.2)
Hope this helps. Regards Tim...